Hello! As is probably obvious, when I started a youtube channel in 2019 it supplanted this blog for a while. I think this format is better for explaining some things though, and for general musing on the work - so here we are!
So a lot has happened, of course - Rosalind is fully decked, fully planked, fully caulked, and my work has transitioned into the interior. But to get to this point has been a mission!
Planking during the holidays, December 2019
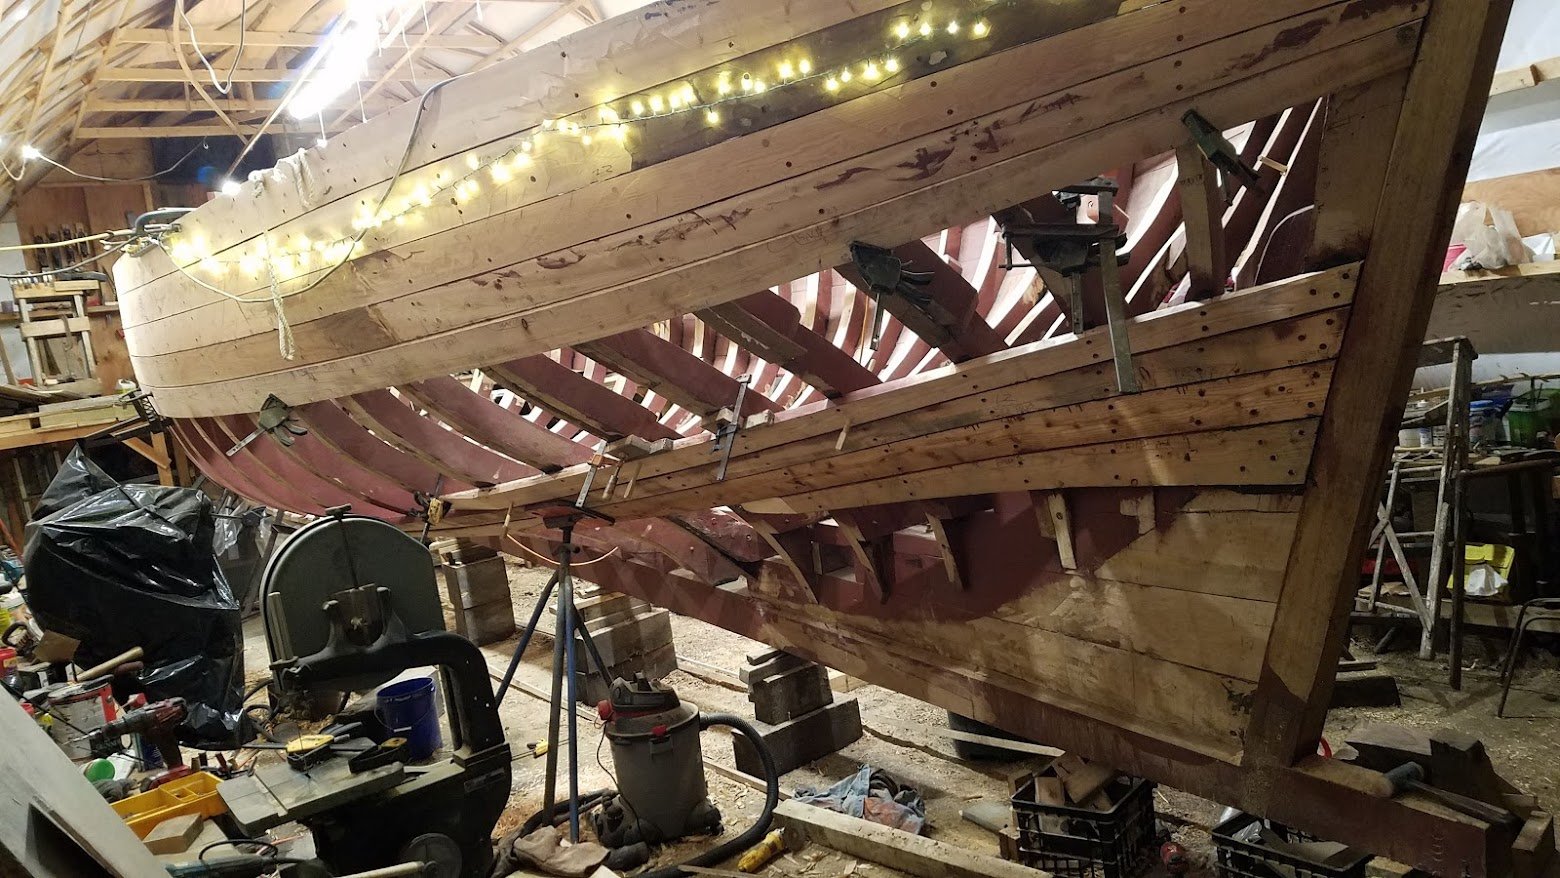
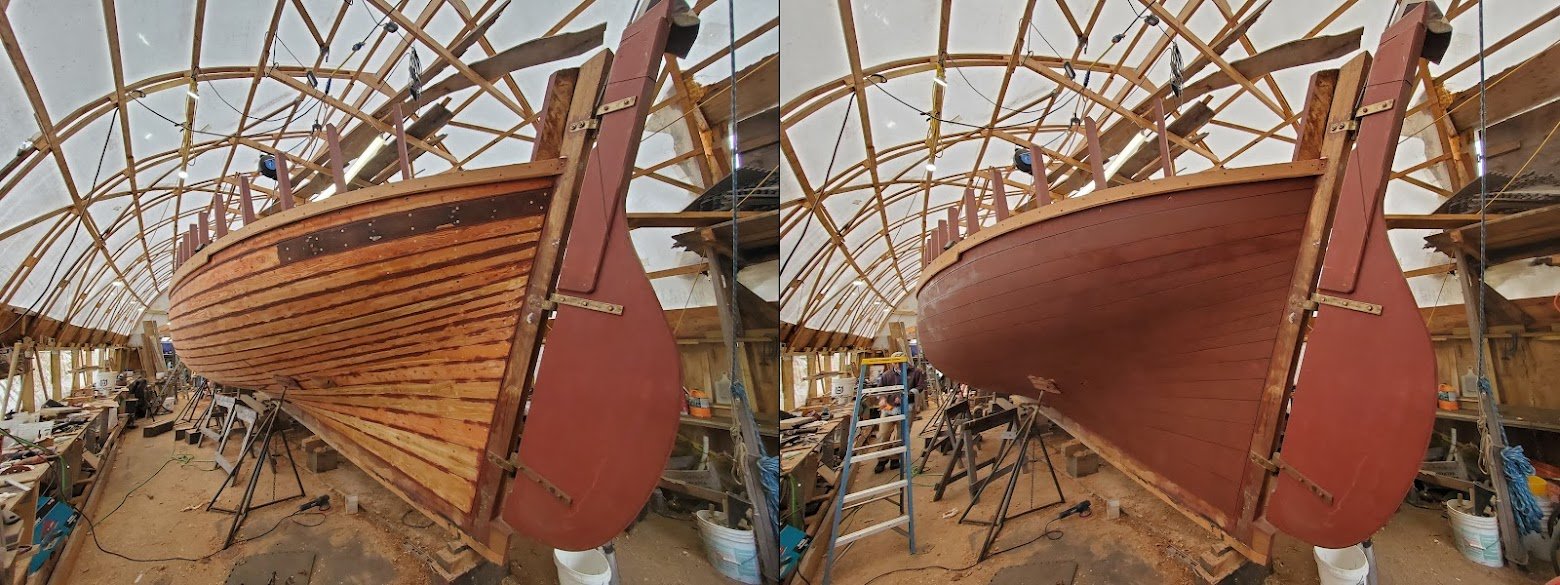
Planking has been the biggest part of that mission, taking the better part of 3 years off and on to complete. Rosalind is an extremely technical shape to plank, so it’s been interesting!
Extreme clamping, July 2020
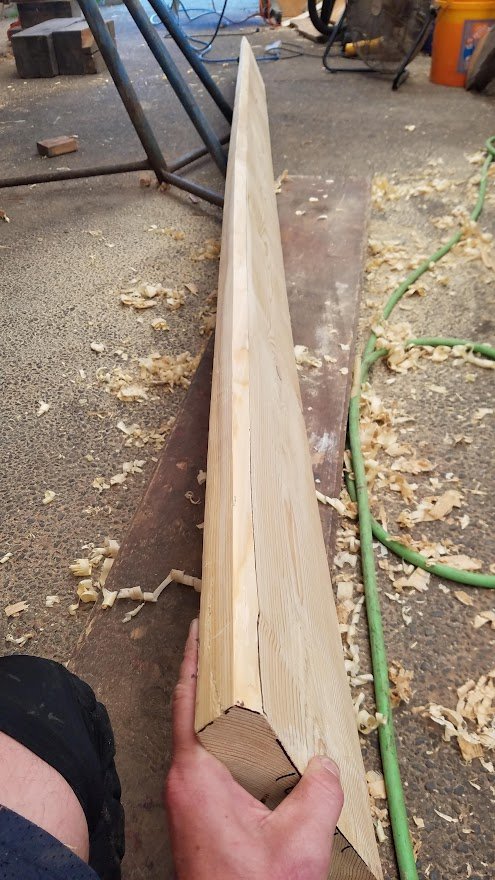
Boats built in St Ives have very flat floors - i.e., the planking midships is almost perpendicular to the keel. This creates two challenges - a hell of a lot of twist fore and aft, and a fiendishly complex keel rabbet. If I had just cut a conventional rabbet, it would’ve only been about 3/8” deep at midships, which firstly didn’t feel like enough to me, and secondly isn’t how it was done originally. As far as I could tell, originally a fairly consistent rabbet was cut into the keel and the garboard was shaped to meet it - which leads to this:
Garboard mating edge, August 2020
A custom planking fid, March 2021
In order to get the shape that edge would need to be, I had to make a planking fid (a bit of scrap wood the width of plank thickness, usually with a 90 degree edge) for each frame, and transfer those marks to the plank-to-be. What this amounts to is a rolling bevel mitre! I think if I were to do it again, I’d have installed a hog timber (a wide timber that makes up the top of a keel assembly) rather than do this, but I’m glad it’s in keeping with the original construction.
Plank pattern on stock, May 2021
Since I worked either by myself or with one or two helpers I had to come up with ways of making the work possible short-handed. The two things that helped the most were patterning as you see above with hot glue and popsicle sticks (which allows you to put your pattern on a piece of stock and immediately know if you’ll get your piece out of it - other methods of patterning require transferring your marks to get to that point), and steaming in place in polyethylene bags. Bagging each plank and dispensing entirely with the traditional mad dash from a steam box to the boat before the plank cools really was essential, there’s no way I could’ve done that by myself. As a technique it’s not without its stresses but on the whole is much more easeful.
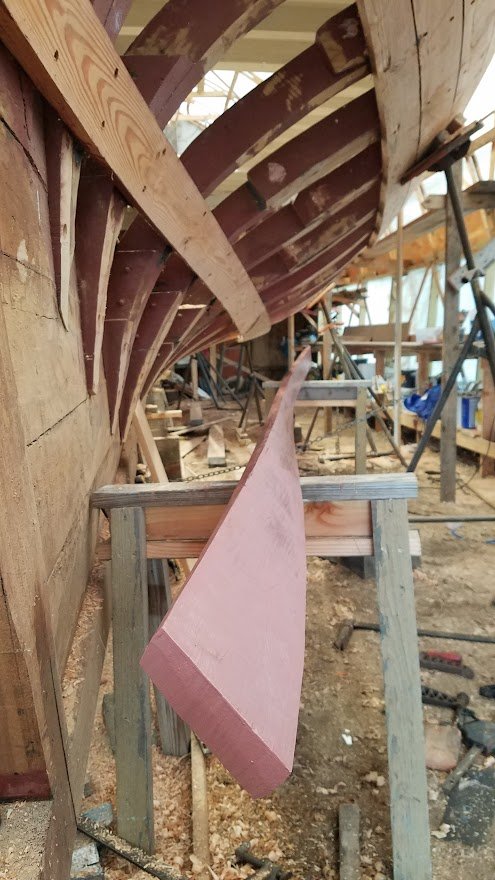
Another day, another corkscrew - July 2020
Two fully assembled planks, almost ready for installation - August 2022
Towards the end of the planking process, I was getting regular help from my friends Matt and Dane - this allowed us to assemble entire planks on the boat, take them off to fair them, and then reinstall permanently. It’s a lot more work this way than it was to fasten each piece as I went, but the end result is much cleaner.
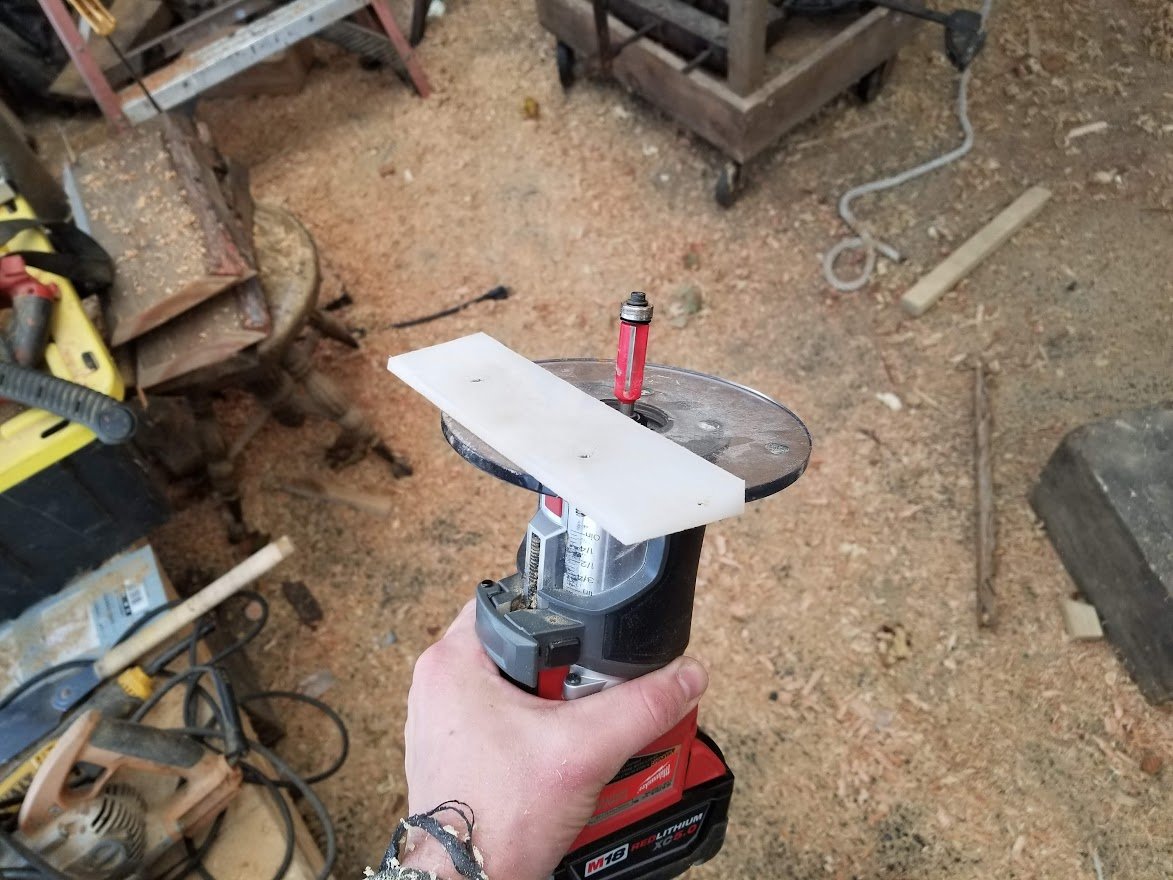
I’m sure I’m not the first to come up with this, but I also put together a little jig for a small router, for cutting caulking bevels on the square edge of each plank. It’s literally just a piece of plastic cutting board cut to the right bevel, screwed to the router base. This in combination with a bearing on the bit to ride on the flat at the inboard side of the plank, and cutting bevels is very fast and accurate.
Caulking bevel cutter - November 2020
Rosalind at dawn - August 2022
A shut, caulked hull - November 2022
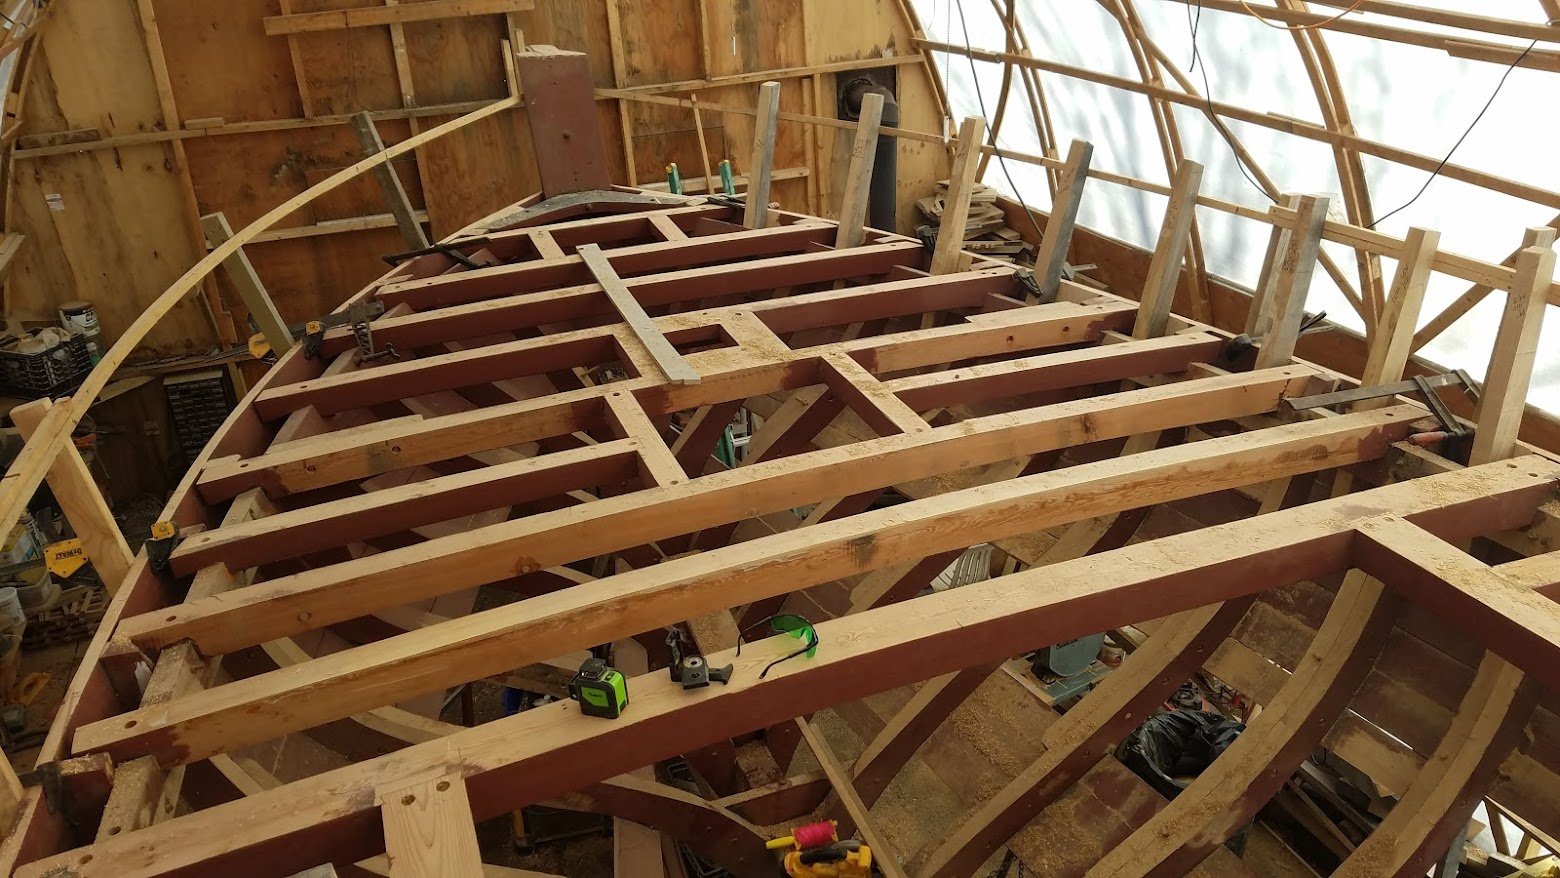
Also completed since my last post: the deck! The framing is all salvaged douglas fir and southern yellow pine reclaimed from the remains of the schooner Australia, and the deck itself is a layer of 1/2” MDO laminated to a layer of 1/2” marine ply, fastened down with 316 stainless screws and then fibreglassed in 2 layers.
Deck frame, March 2020
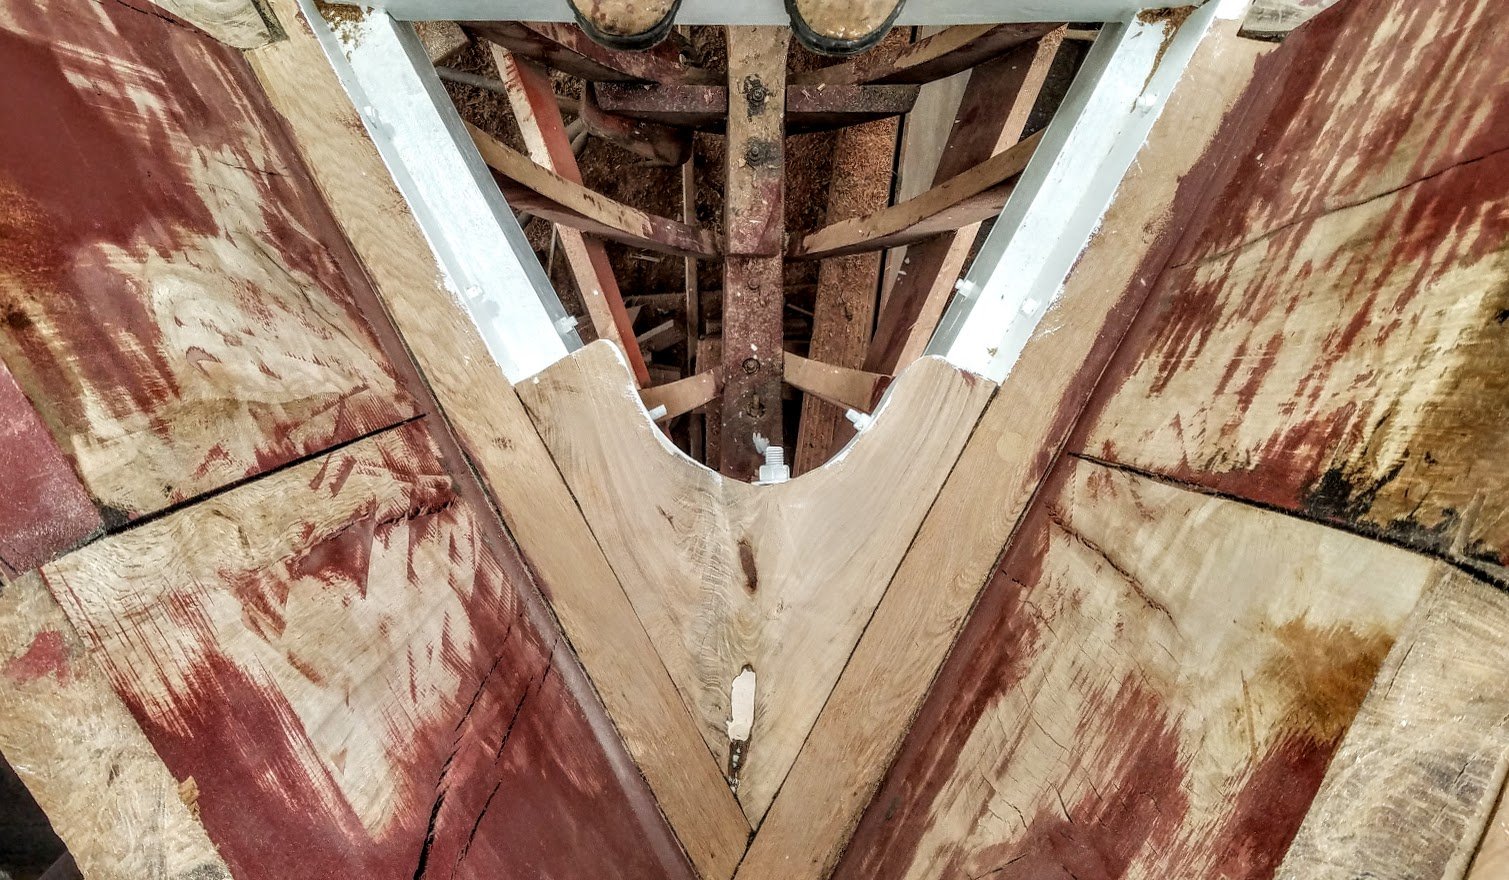
Black locust breasthook - May 2020
Ply going down - May 2020
And glassed! - July 2020
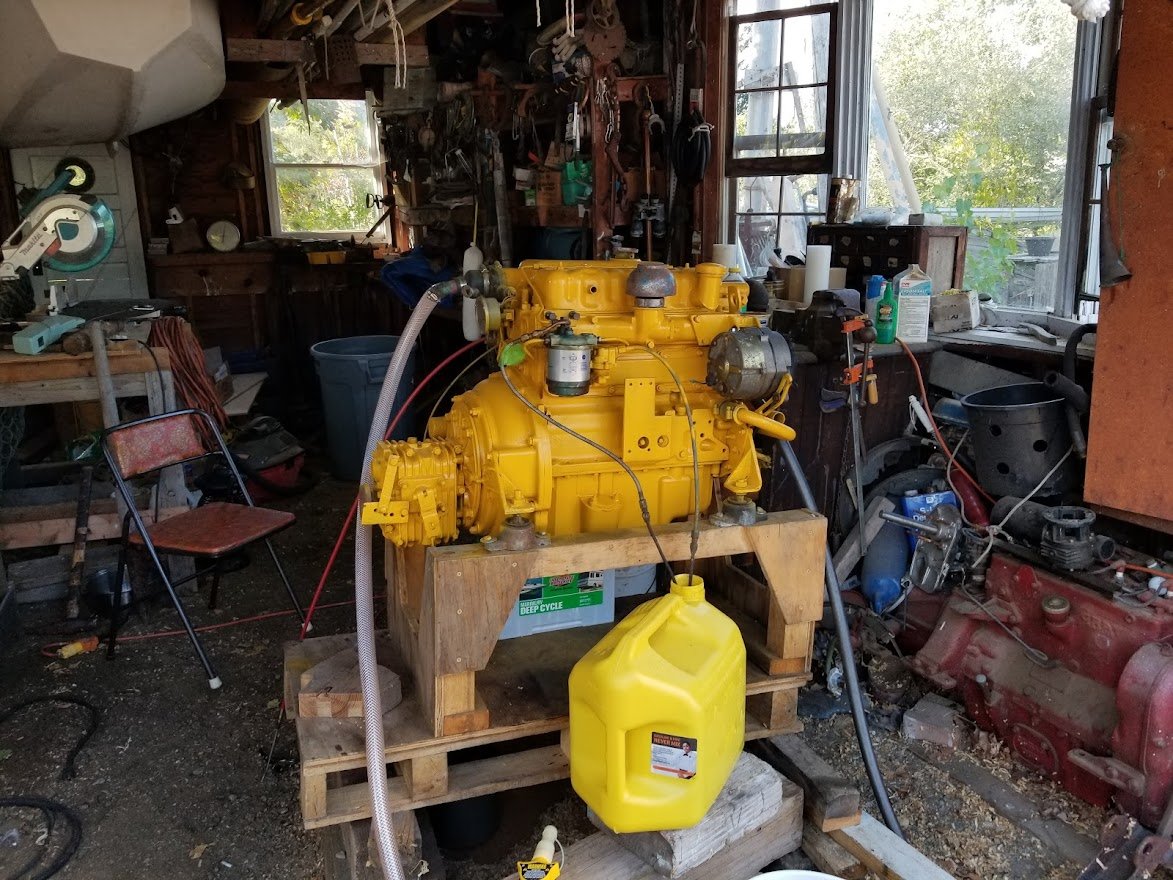
Also, I was very generously given the old engine from Victoria by Acorn to Arabella - she has been christened Amelia, and runs beautifully. She just needs some small parts replaced.
Amelia, Rosalind’s new powerplant - a Perkins 4108 formerly of “Victoria”
To be continued! Thank you for reading.

