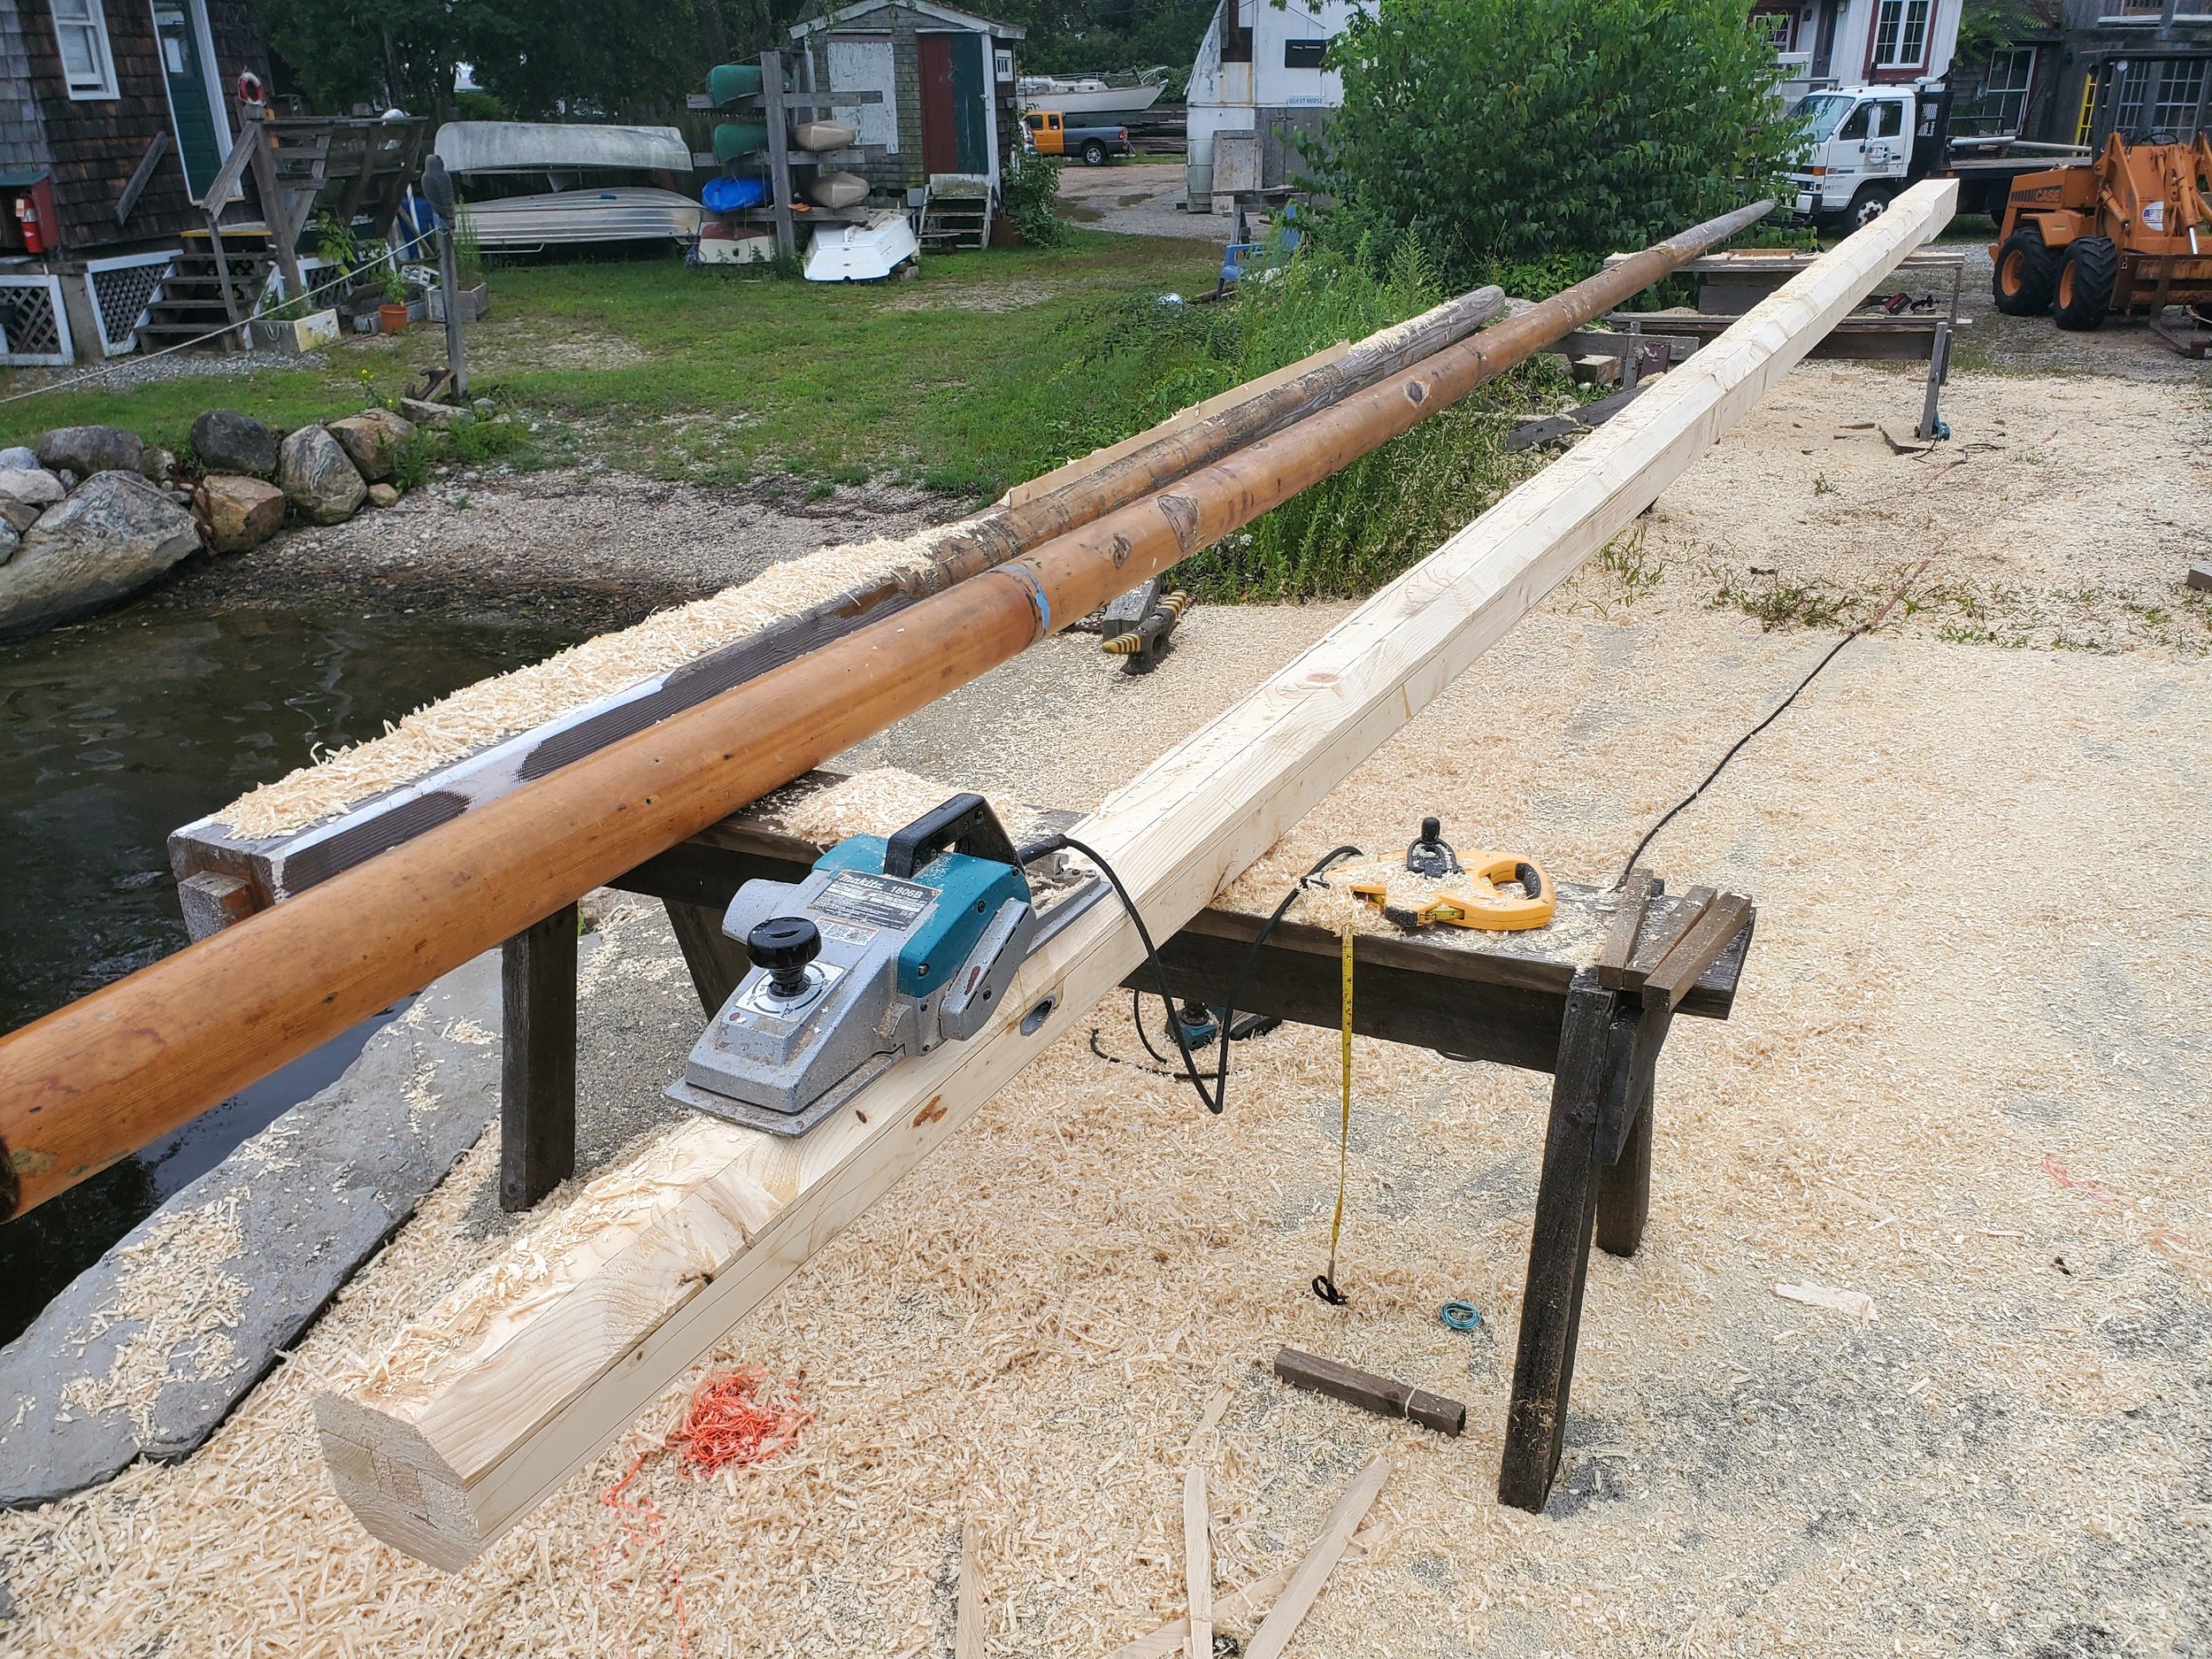
Bowsprit installed, October 2023
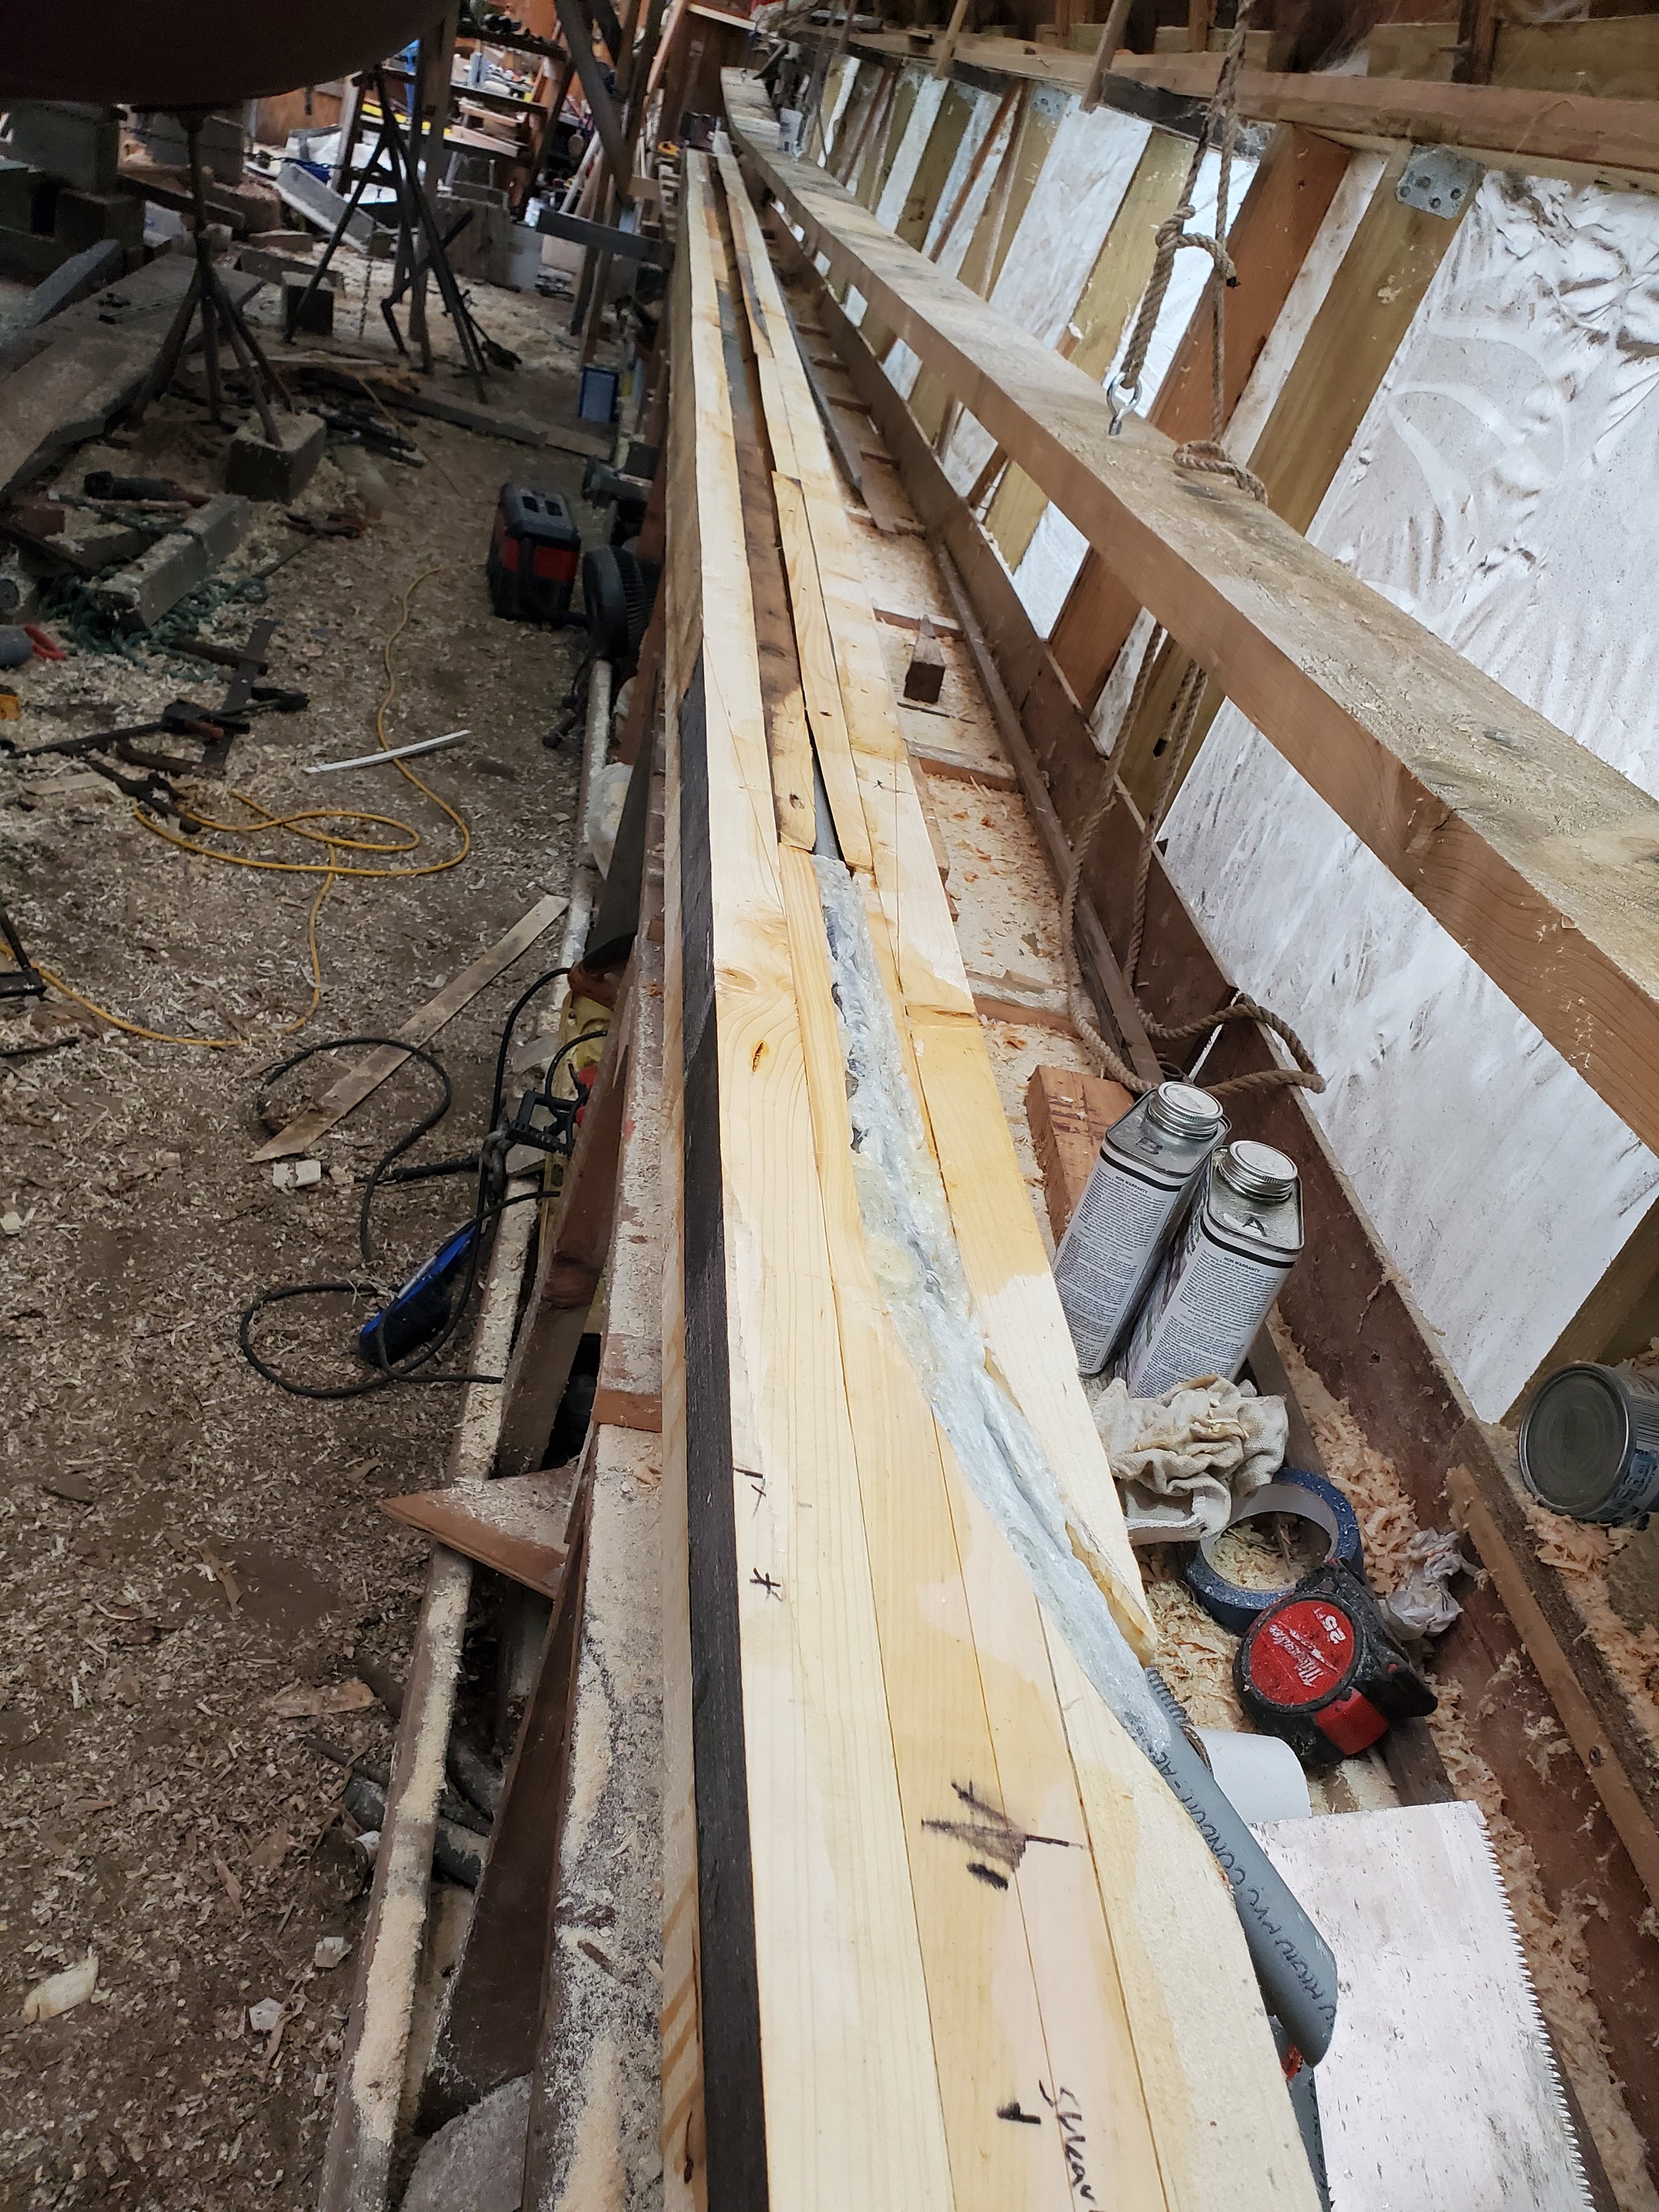
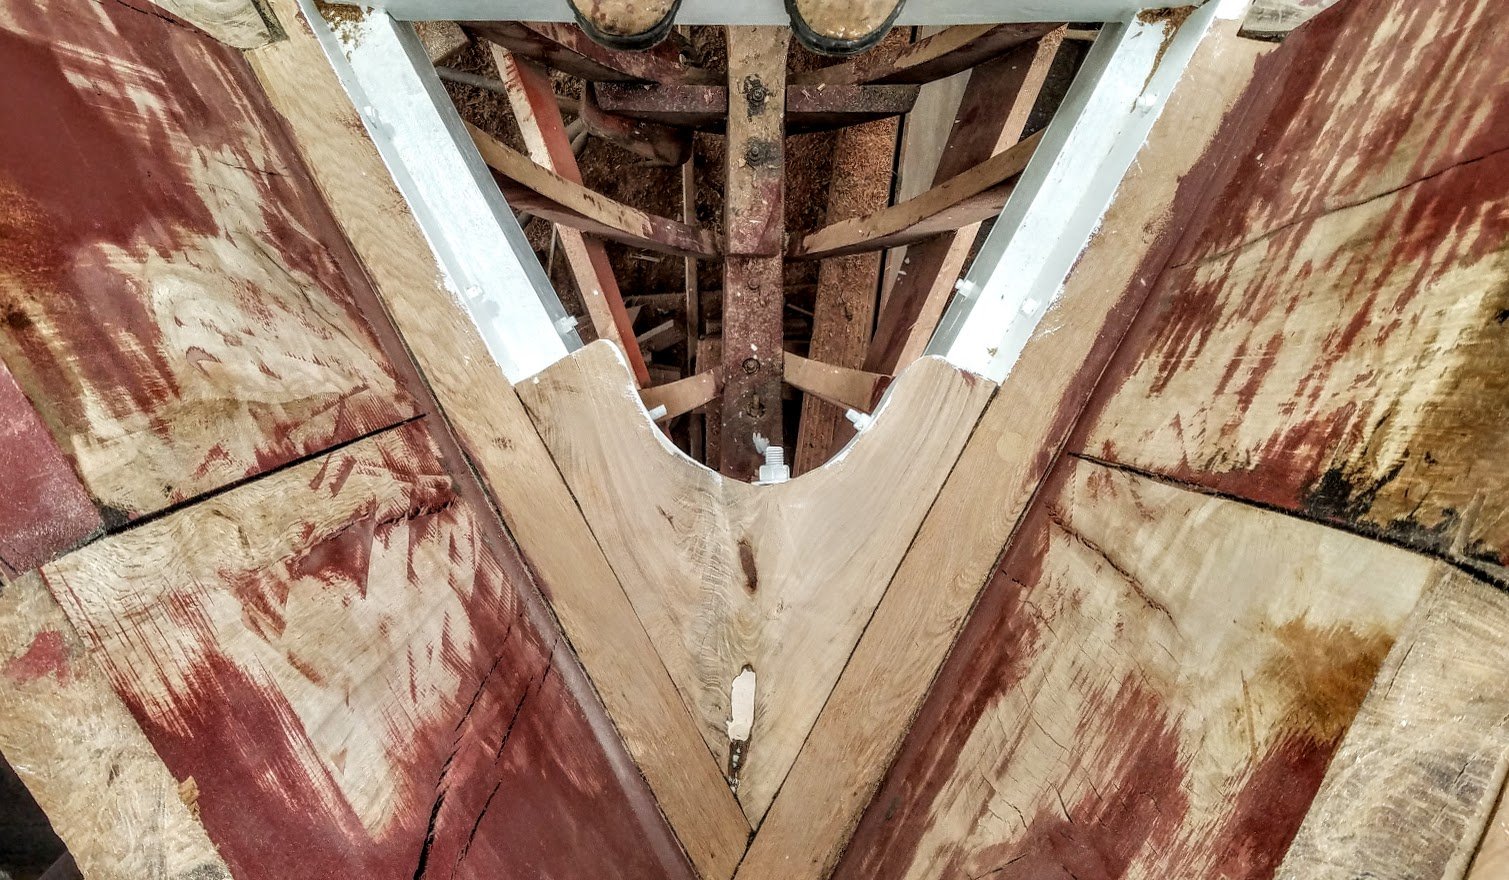
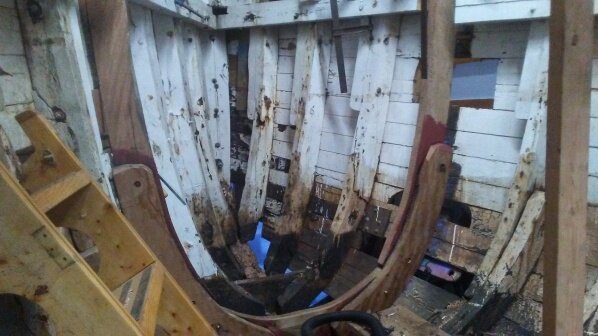
After the caprail was completed, I moved on to installing the bowsprit. St Ives luggers didn’t traditionally carry fixed bowsprits (though they would sometimes jury-rig them by lashing to the rail and foremast), but I like the versatility that carrying a headsail brings so I decided to add one. This meant boring a very interesting hole through the bulwarks and knightheads.

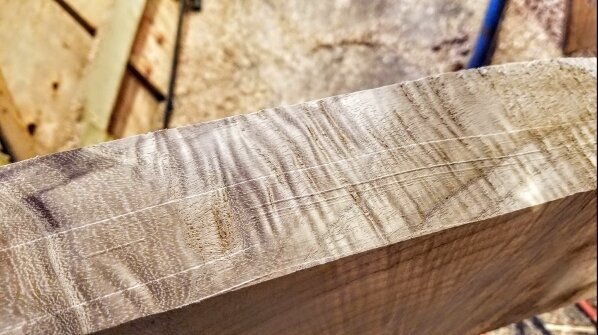
Scribing the bore outline, September 2023
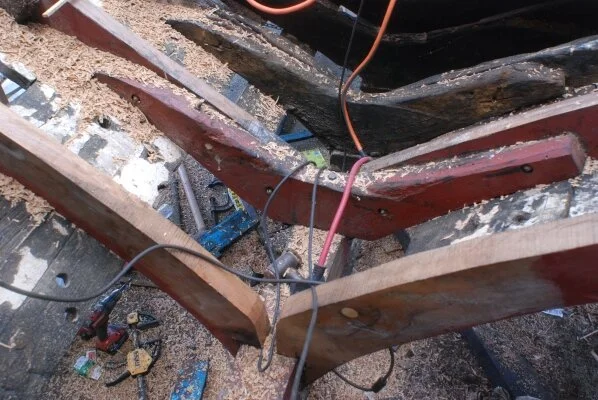
The first step was boring a pilot hole roughly in the centre, to allow a long piece of pipe through. This was supported by a plastic bearing clamped to the bitts inboard, and another plastic bearing screwed to the stem outboard - aligned very carefully at the angle the bowsprit would ultimately be at. I then made a plywood stick that fitted over the pipe, with a sharpie mounted to it at the bowsprit’s radius. I then used this to scribe the outline of the ellipse on the inside of the knightheads, and then hogged most of the bore out with an arbortech wheel on an angle grinder.
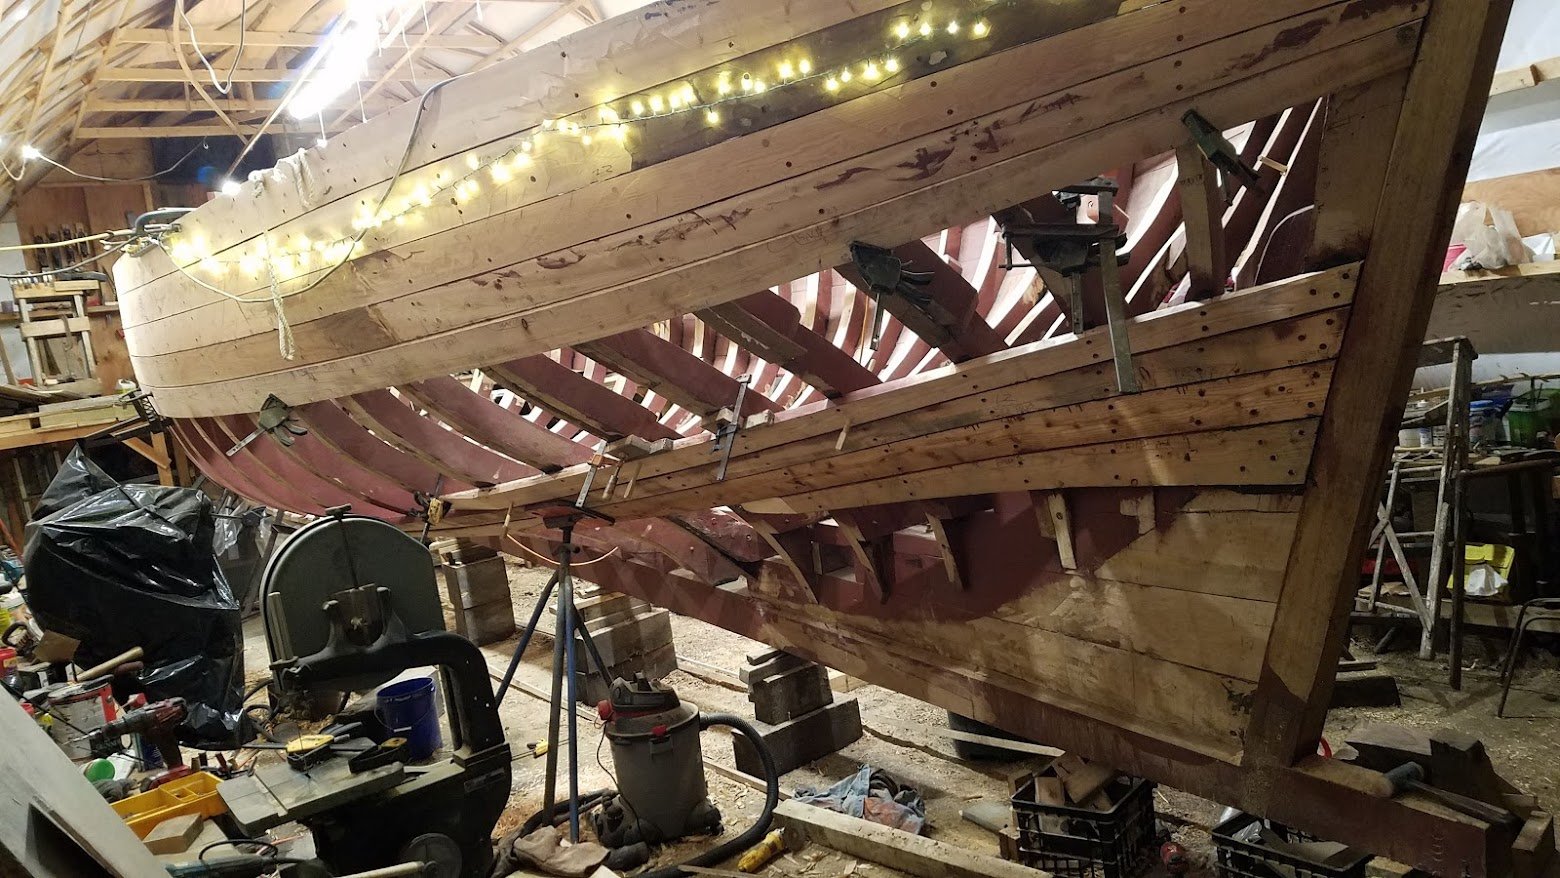
And then… built a rotary death machine! 3 successively larger hole saws welded to a pipe, and the bore was very true and the correct diameter.
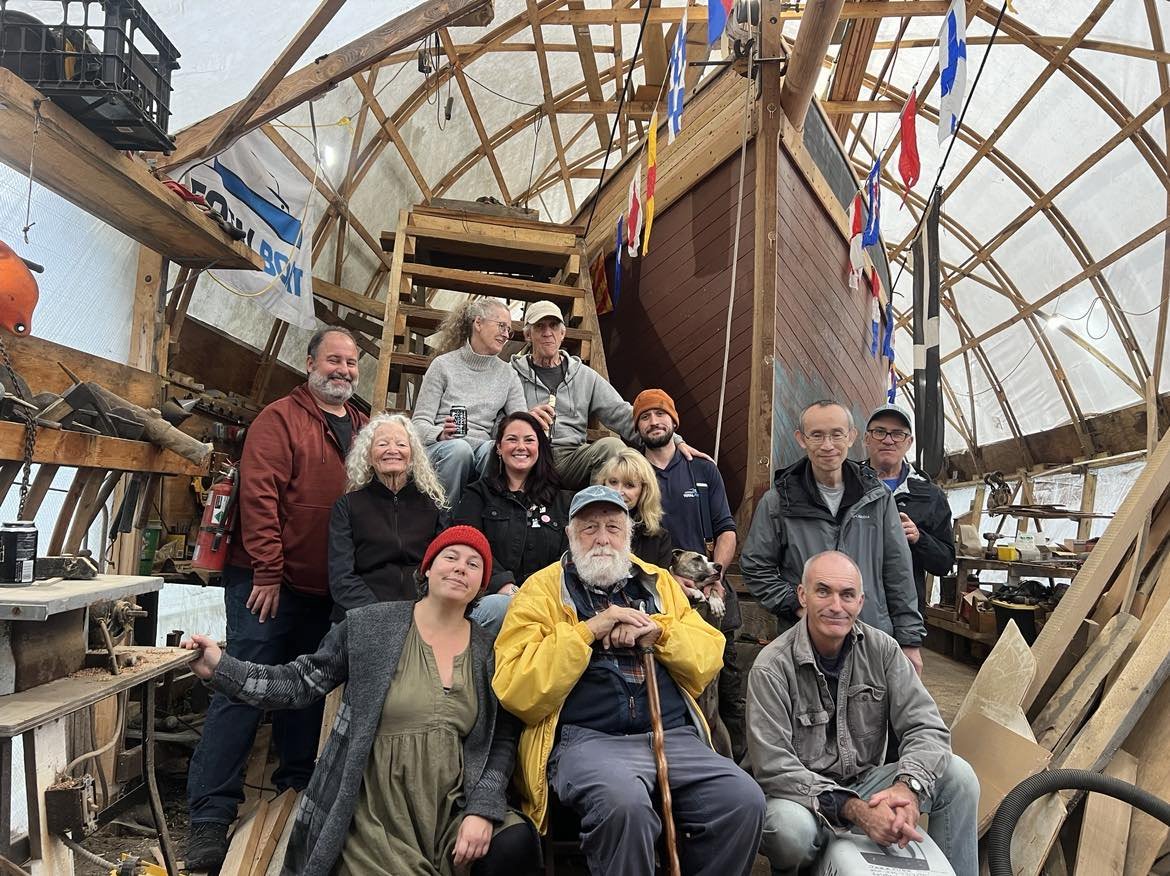
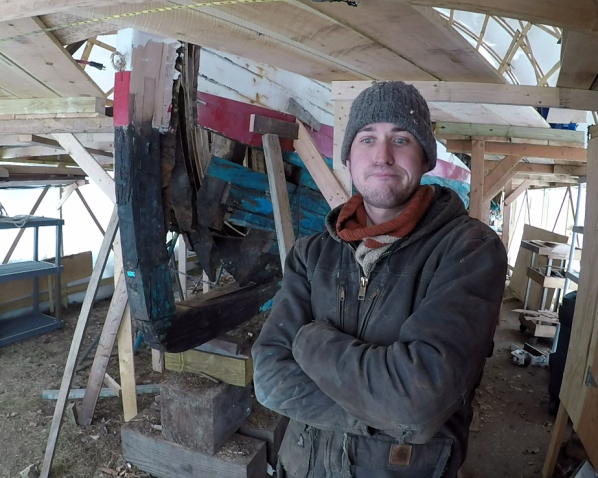
120th birthday gathering, October 2023
About that time I had a small gathering to commemorate Rosalind’s 120th birthday, which was on October 2nd 2023.

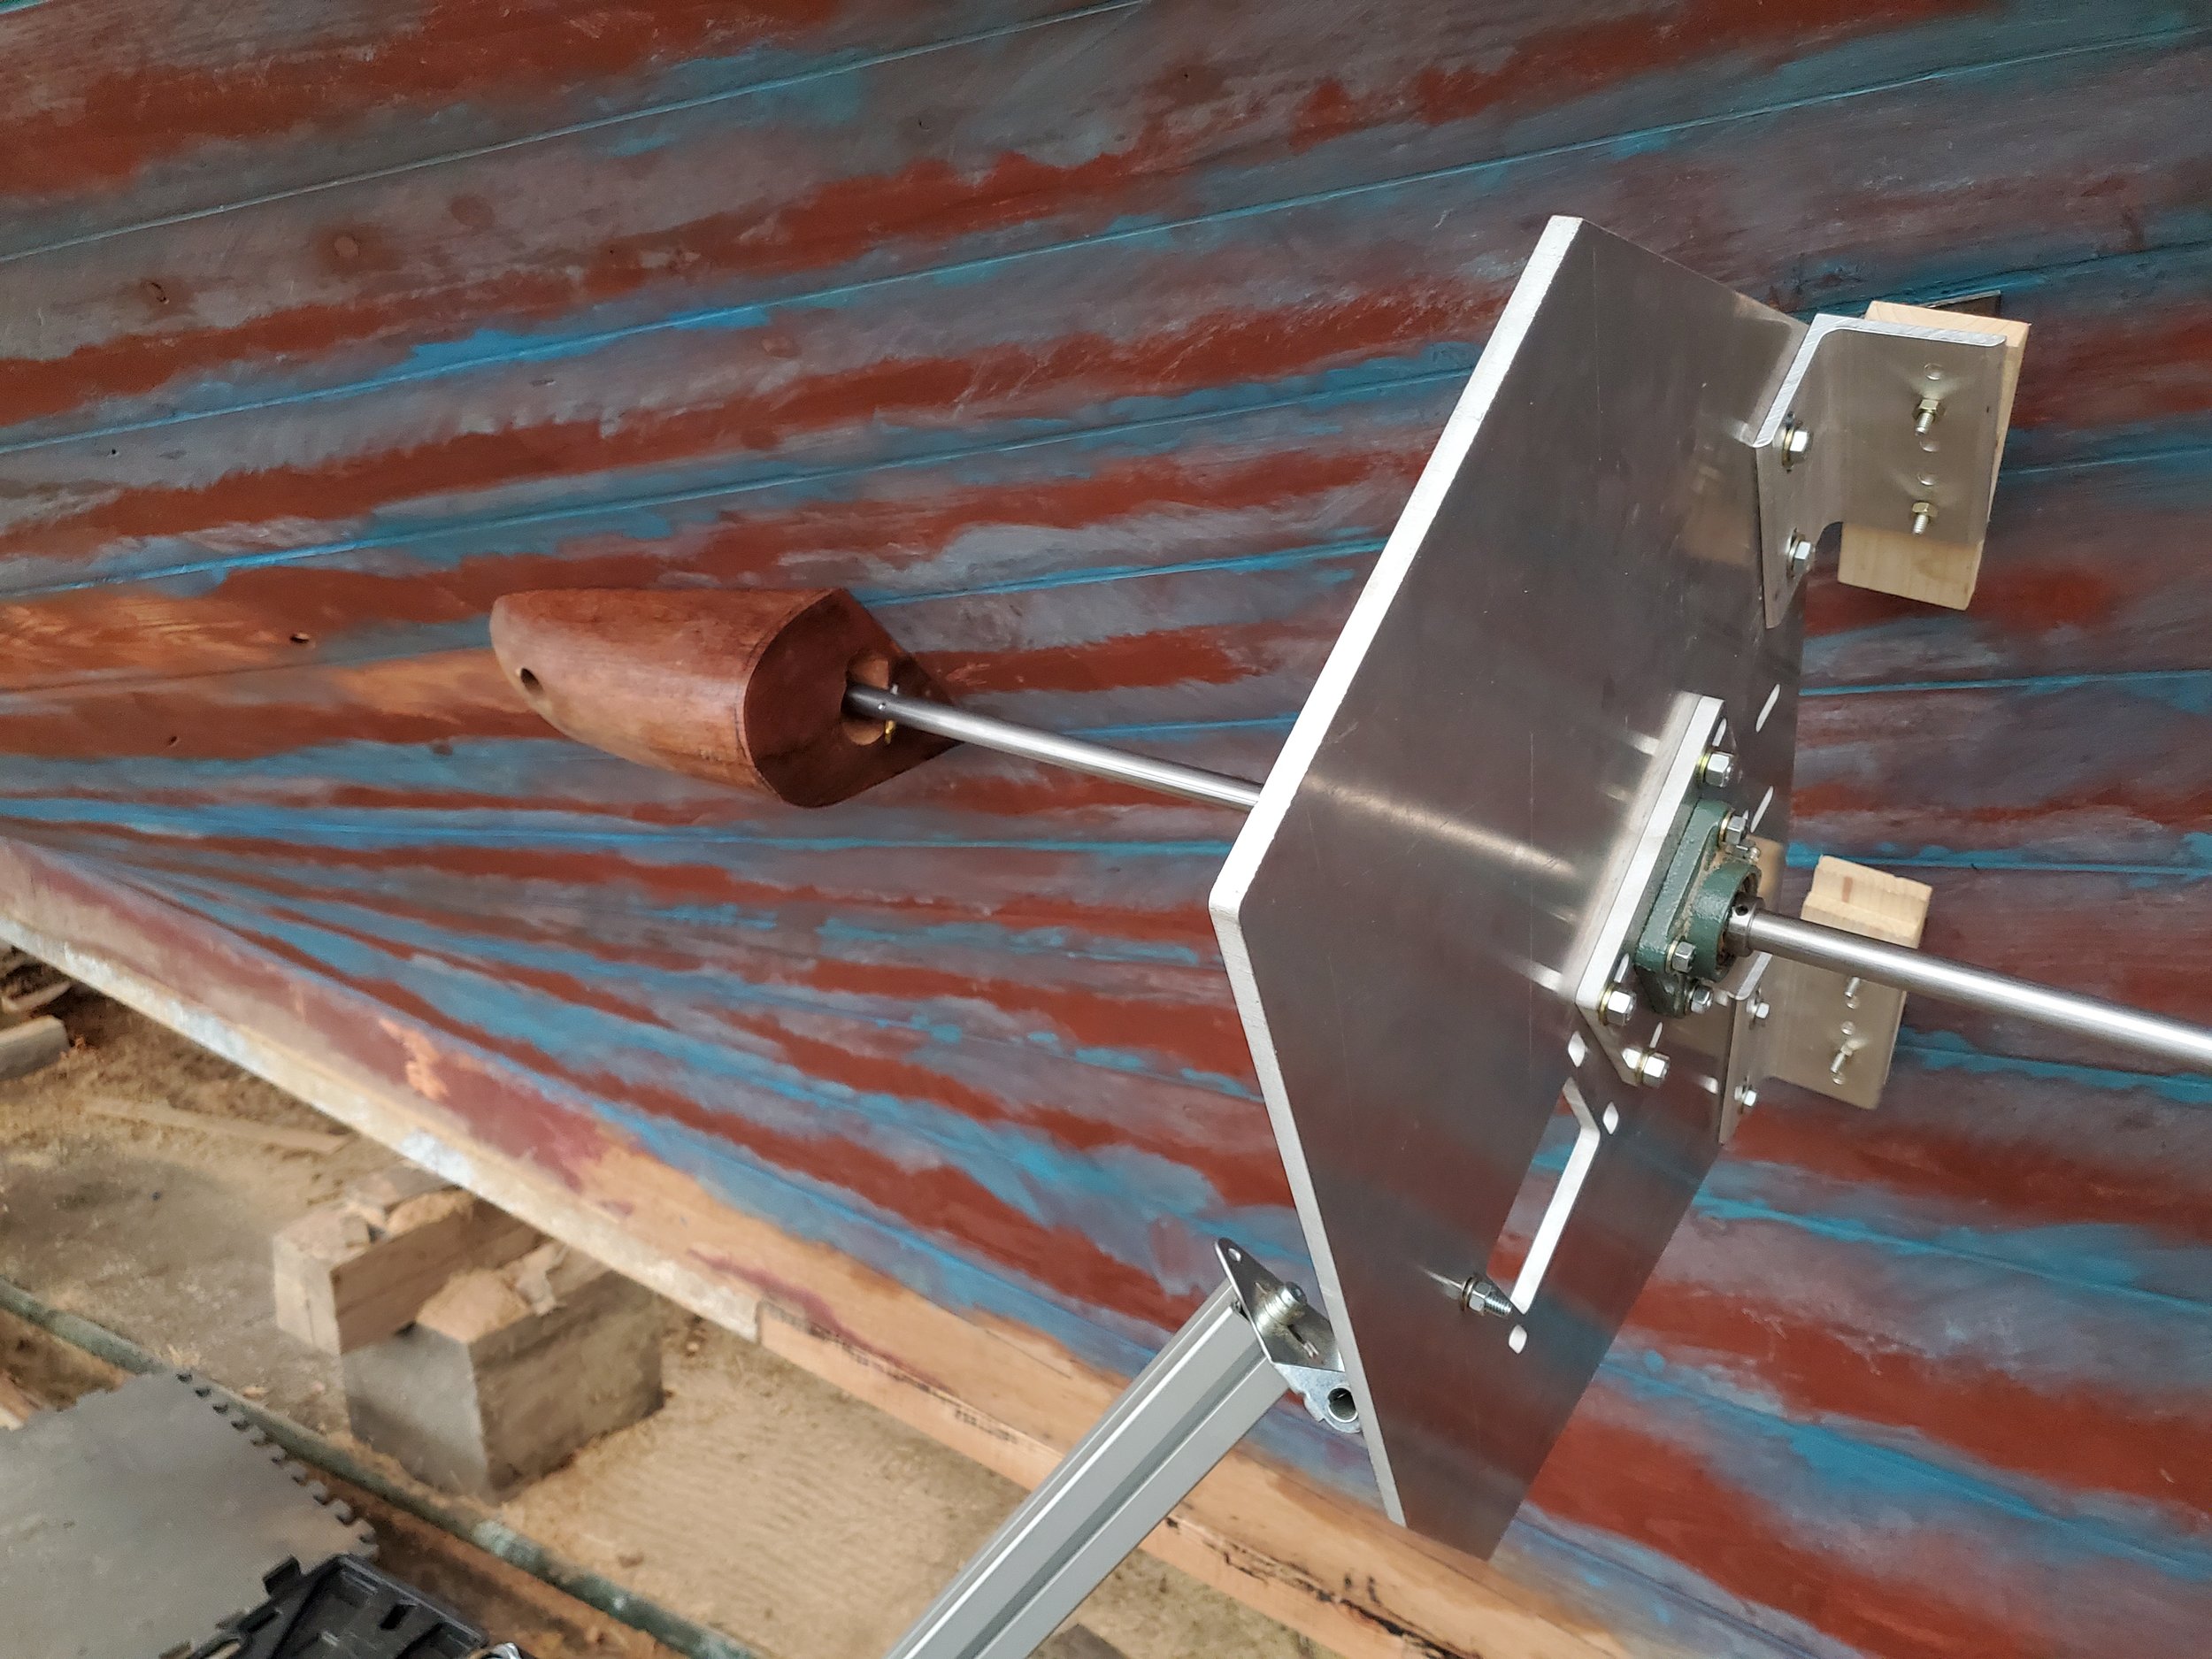
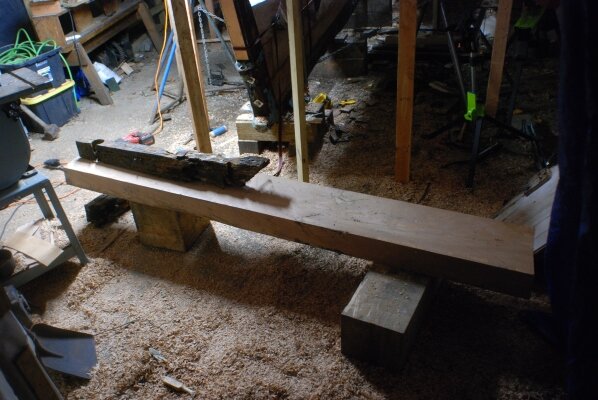
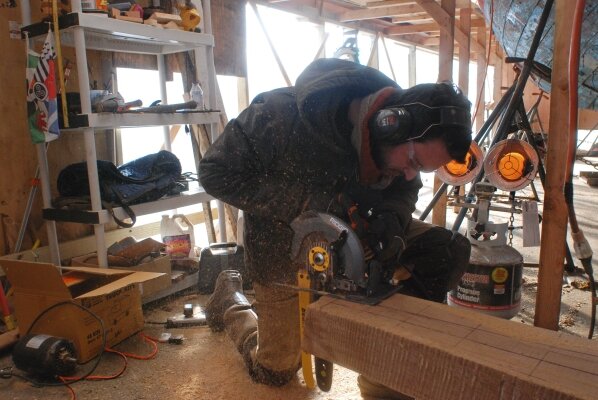
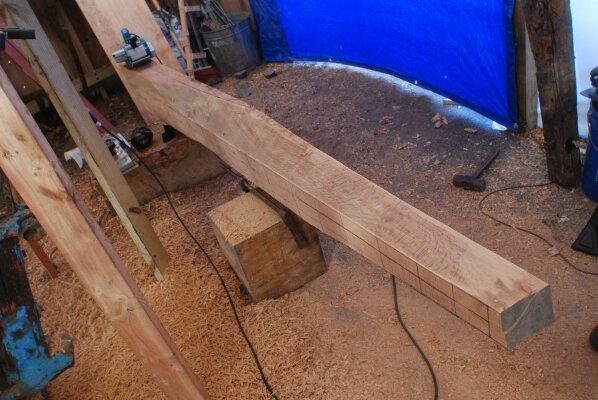
Strut pattern, October 2023
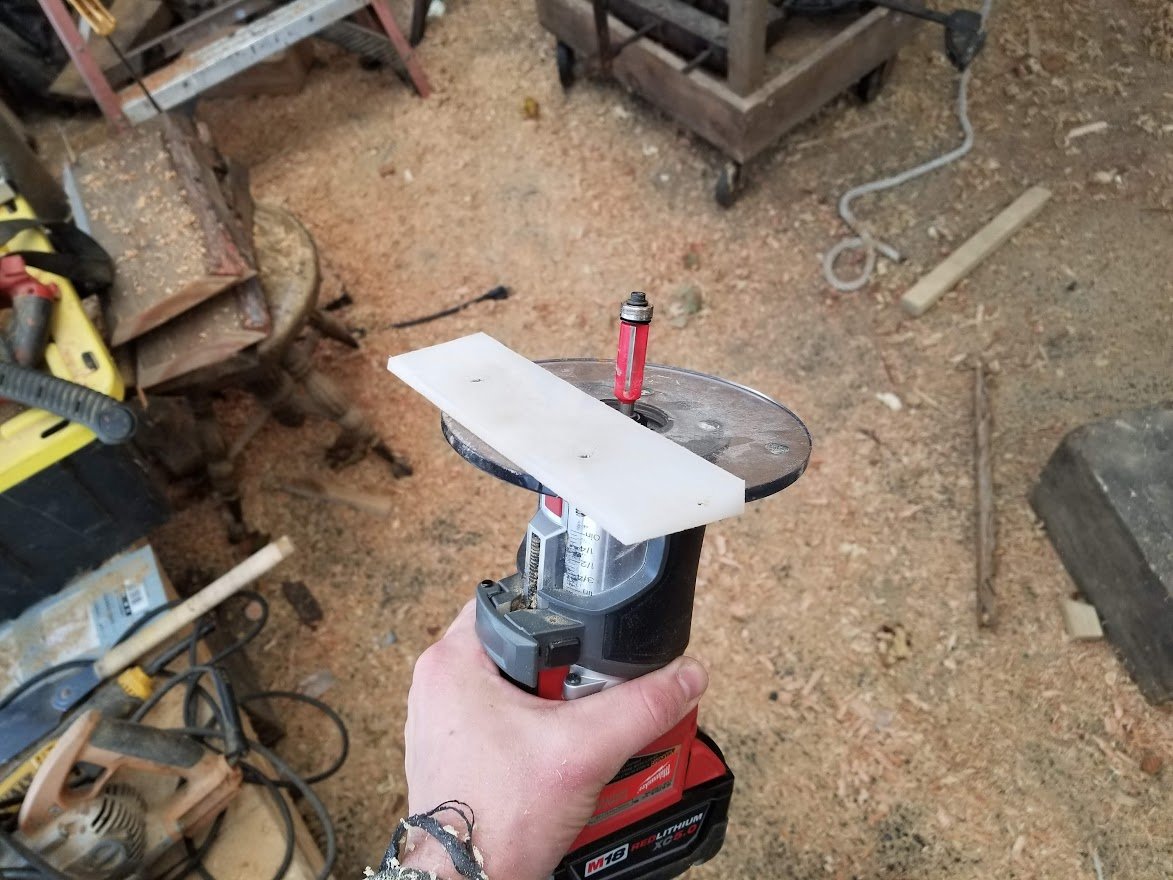
I also started using 3d printing for a number of things, chiefly patterning pieces which were to be cast in bronze - this was a huge benefit for making the strut pattern, as I could print the barrel of the strut to a very close tolerance around the shaft, which meant that later on alignment was relatively straightforward (more on that later). I also designed a padeye for an attachment point for the bobstay, and a router jig for cutting perfect circles at any radius (indispensable for portlights).

The four stages of the bobstay padeye, December 2023

Cutting an oak pad for one of the house portlights, November 2023

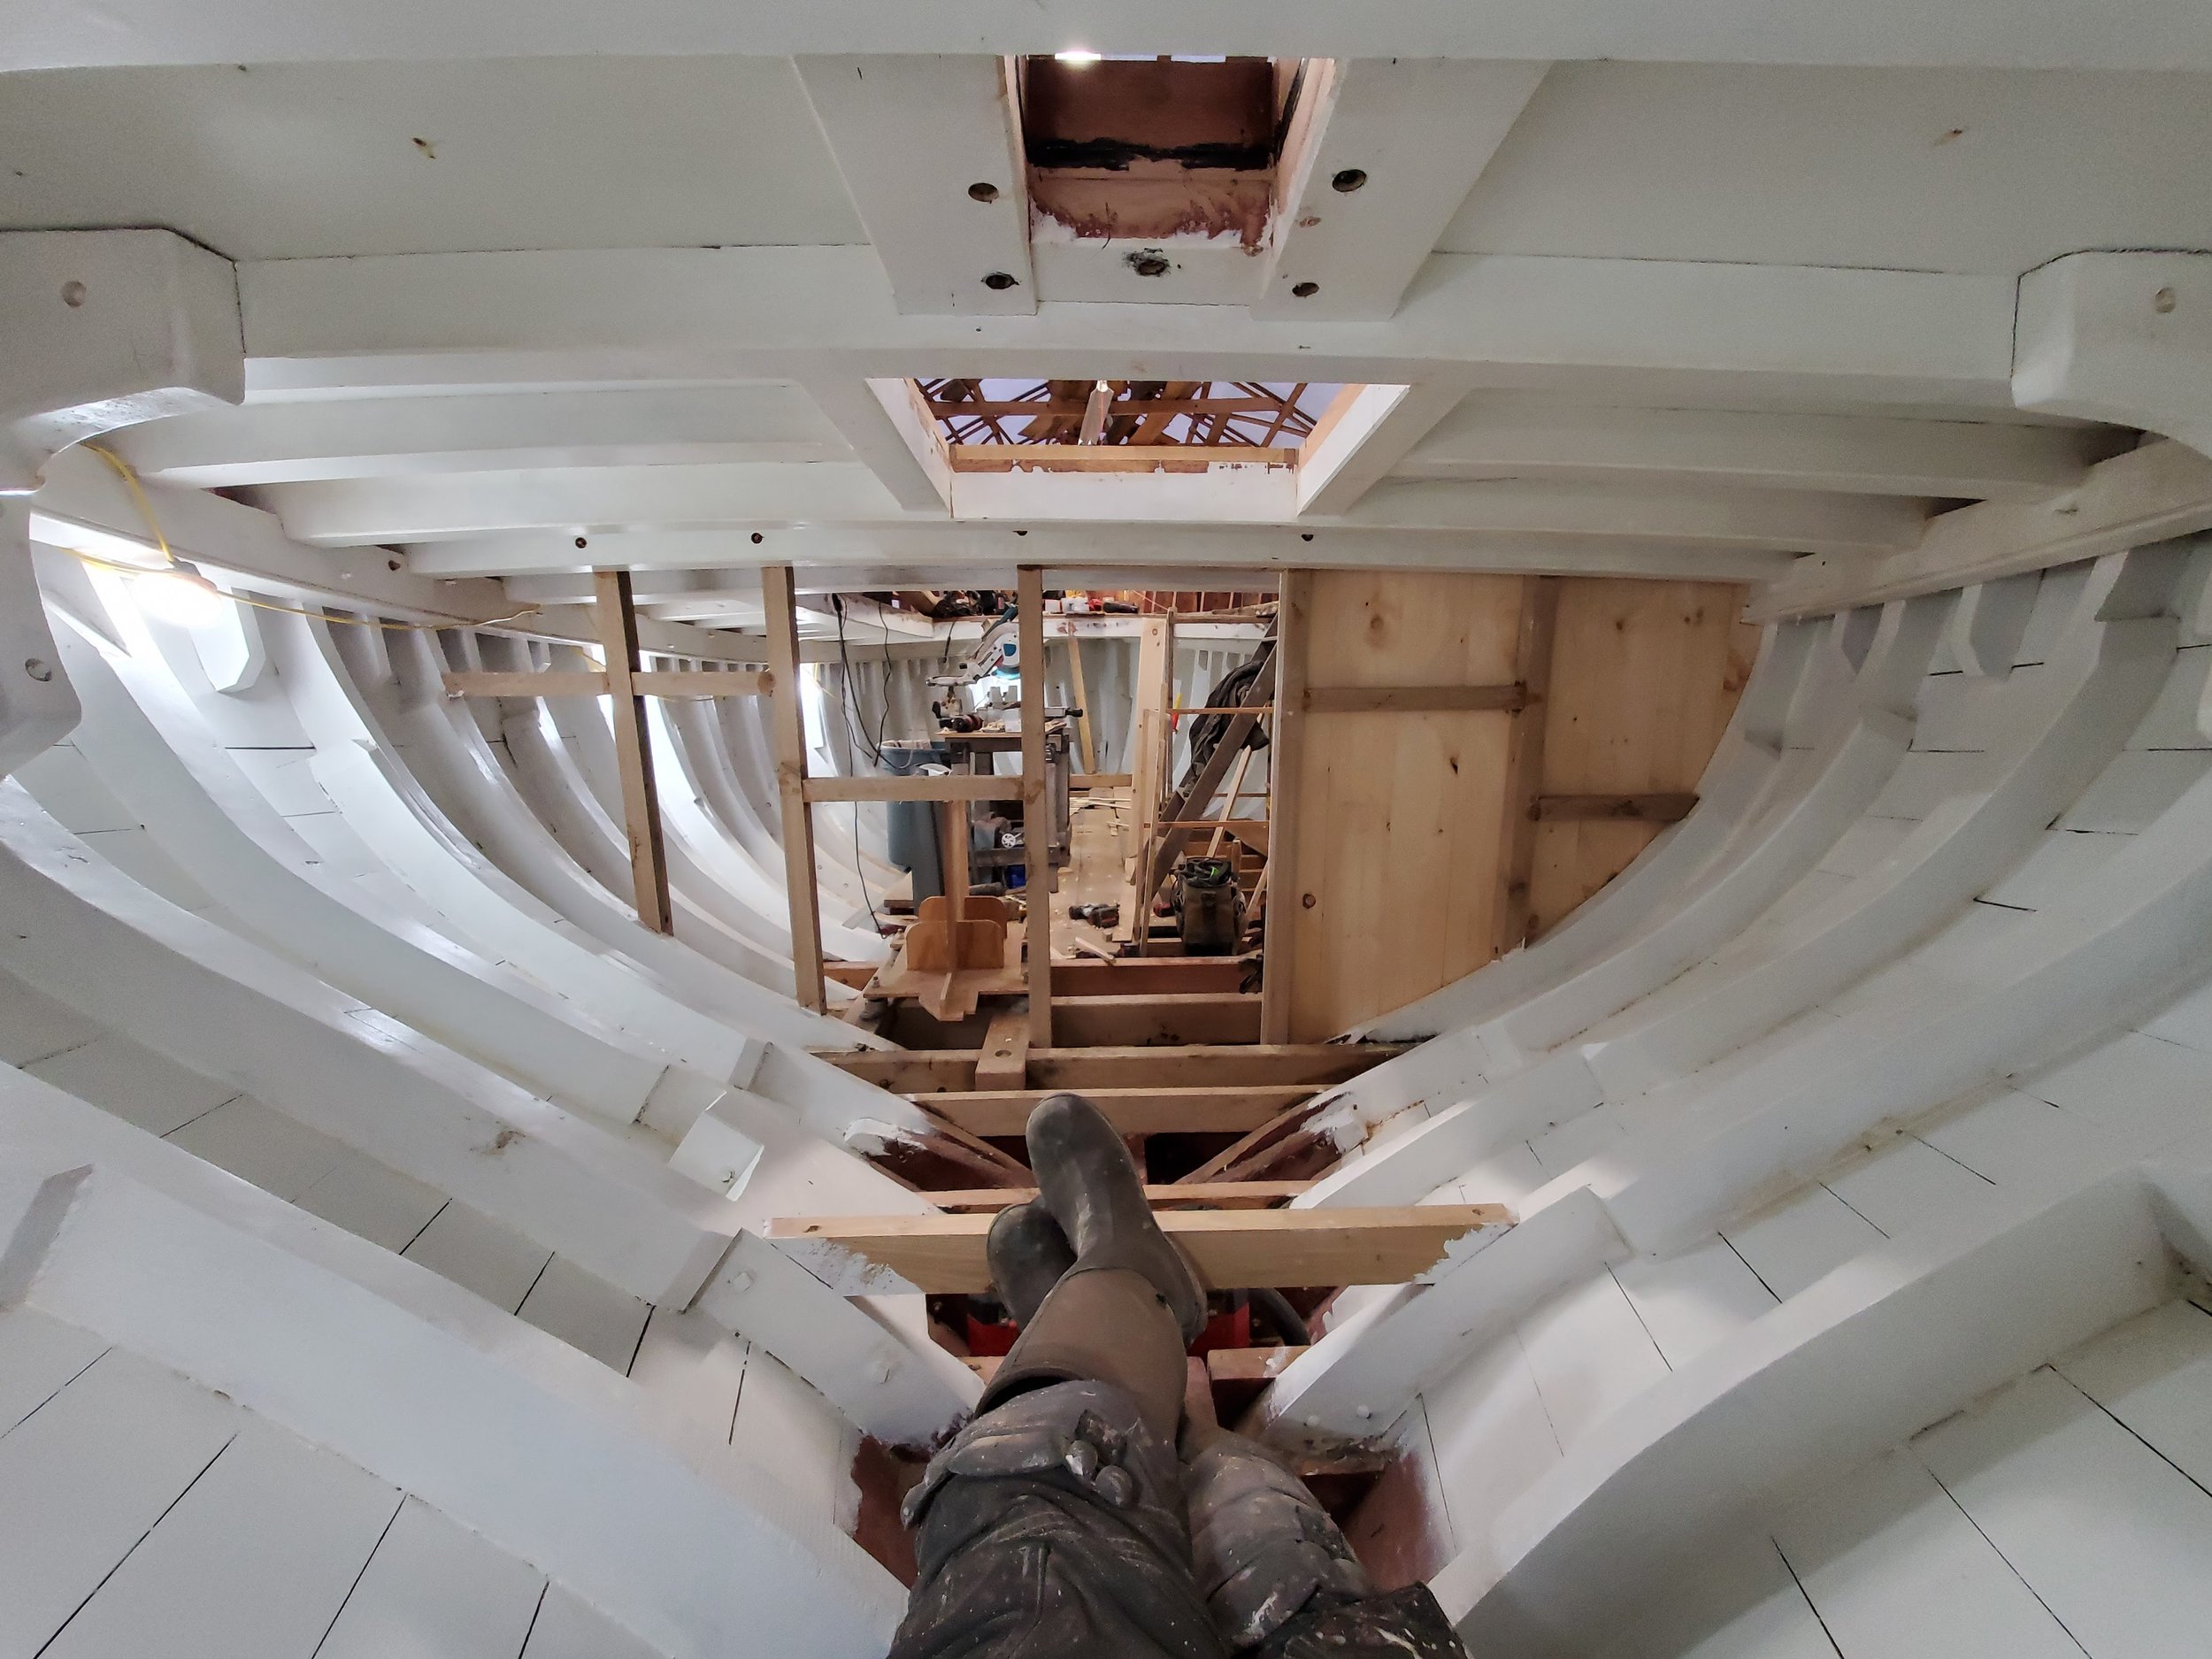
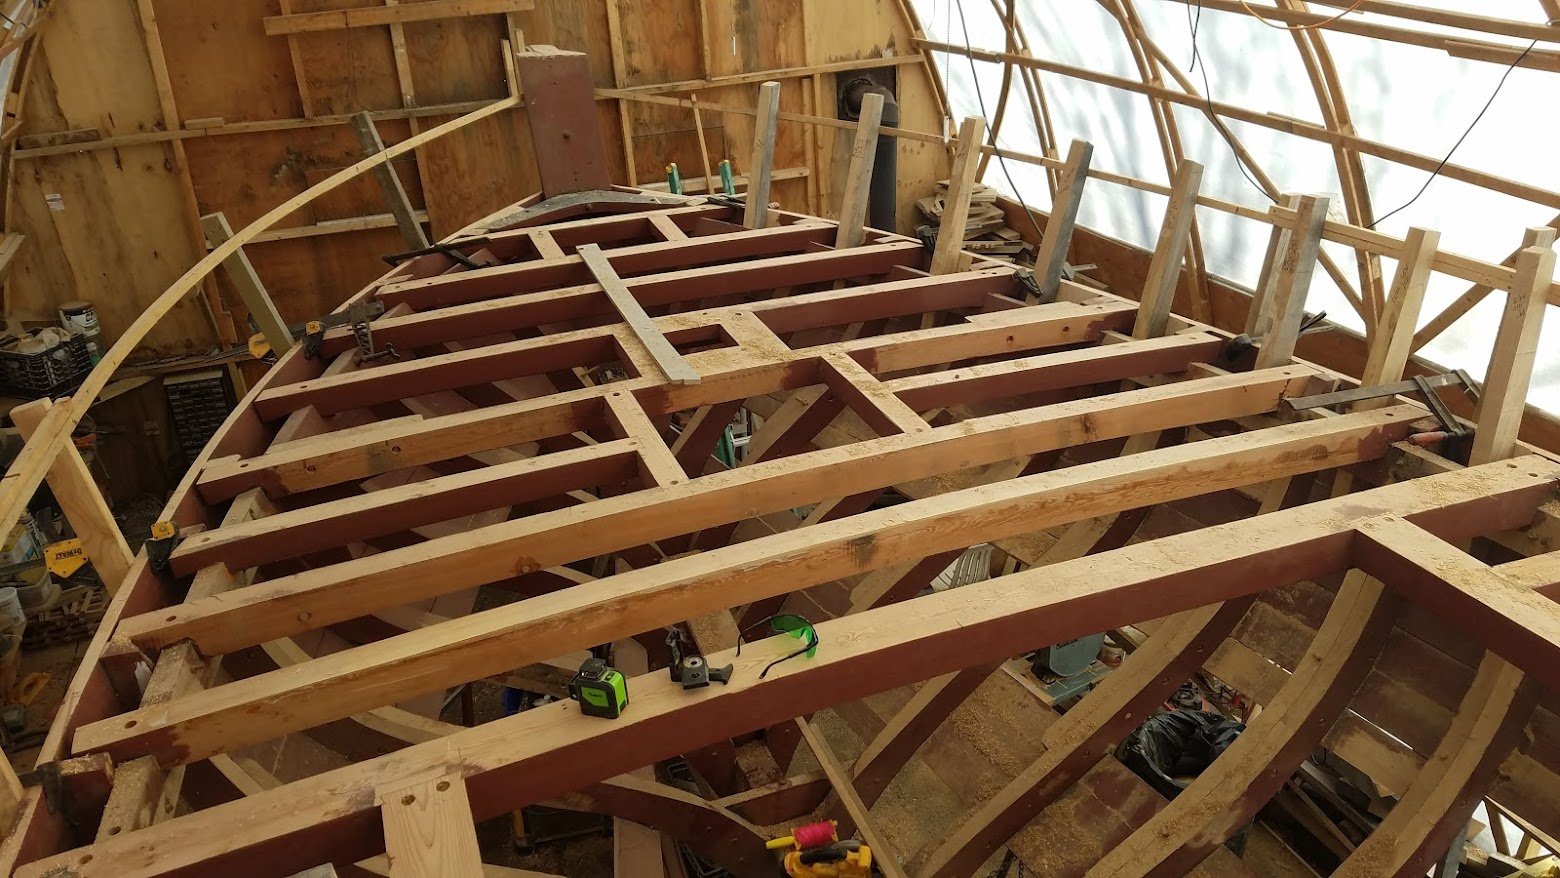
Portlights and interior construction, November 2023
At the same time I got stuck in to working on hatches, including the scuttle hatch which is a peculiarity of luggers - it allows a keel stepped foremast to be lowered, even at sea. Apparently this was a routine operation, which was done to lower the centre of gravity of the boat when working nets or in heavy weather. My foremast is hollow spruce so there will be no need to do that, but I like the history of it and that it will allow me to handle the foremast myself without use of a crane.

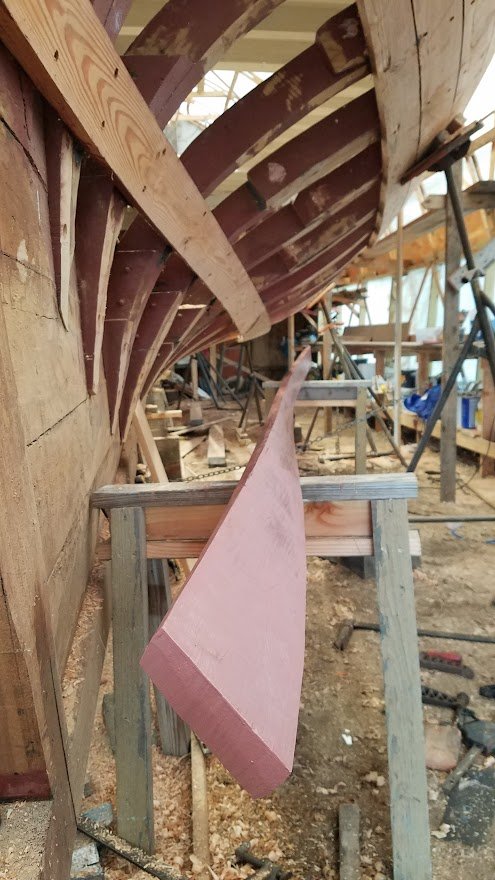
Purpleheart scuttle hatch under construction, October 2023

Scuttle hatch with mast box underway, October 2023. The aft section of the box (not yet installed here) is removable to allow lowering of the foremast.
The sliding hatch for the companionway was an interesting puzzle, as it is off centre to port (due to interior space constraints, I had to incorporate the engine box into the companionway).

Companionway hatch under construction, December 2023.
With the bowsprit in place, I finished up the tails of the… I’ll call them whisker stays. I gather there’s some debate over what they should be called, but in any case they support the bowsprit against undue lateral movement. This meant brushing the dust off of my rigging skills which are very rusty! I think they came out alright though.
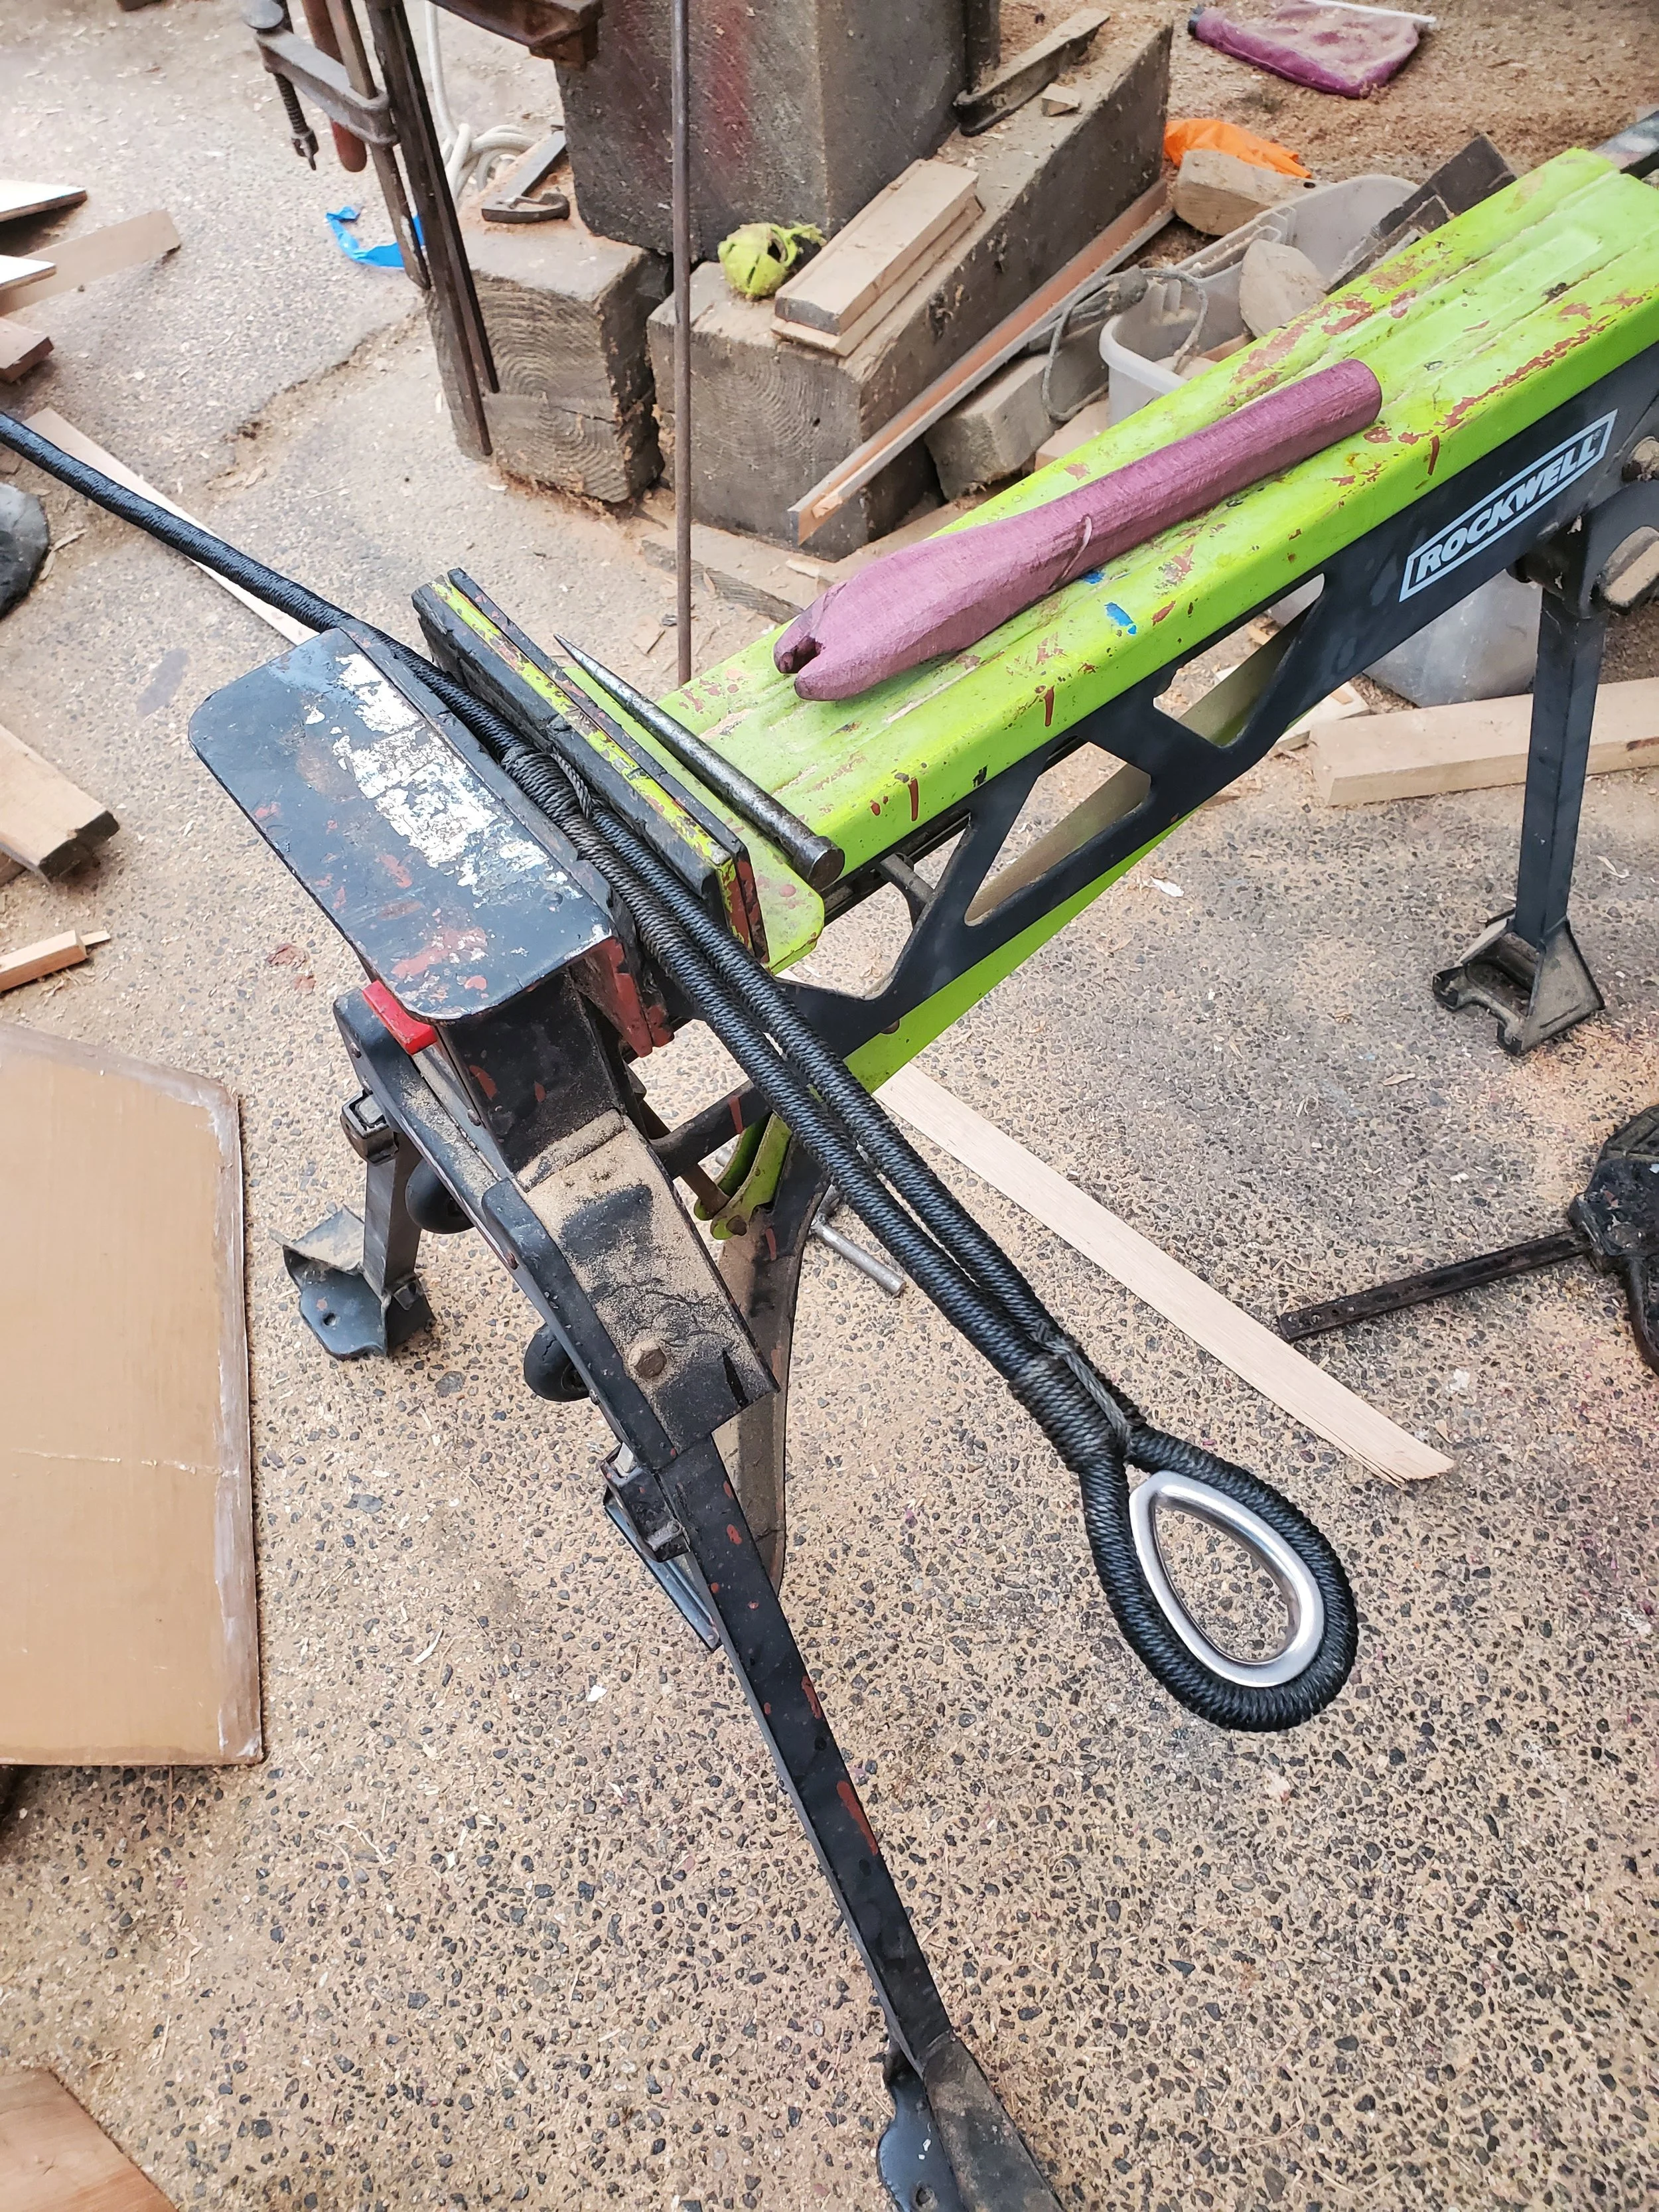
Almost finished turnback on the portside whisker stay, November 2023. I made the best copy I could of a tool I had seen Miles Thurlow using in a video out of scrap purpleheart, and it worked very well for completing the service and doing the seizings.
That about does it for 2023, thank you for reading. Stay tuned for 2024, there’s a lot to cover!