BYSNOWYDHBOATWORKS OCTOBER 6, 2018
My apologies for the sparsity of posts lately. As you will see, much has occurred!
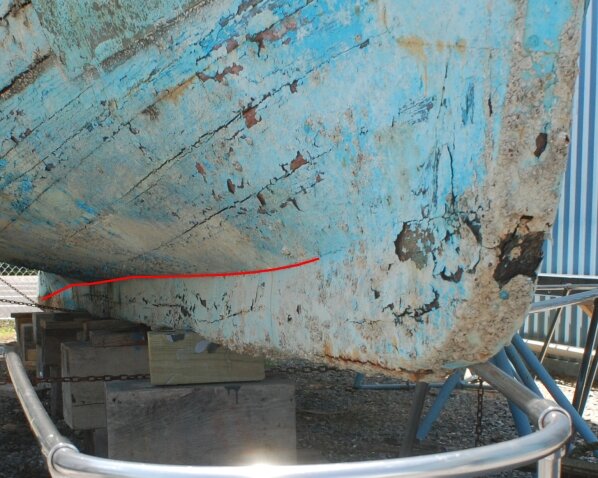
I knew from the first day I saw Rosalind that I was going to need to replace her keel. There was significant grounding damage at the stern, many graving pieces let into soft areas, a pretty massive heart check running down one side, and most conclusively a multi-faceted hog. Hogging refers to the tendency of the ends of a boat to drop over time relative to the area amidships which is larger and more buoyant, and sometimes for other reasons as well.
Rosalind’s keel, July 2017. The red line is the rabbet line, which ought to be fairly straight
While some hog is kind of expected in such an old boat, this was a bit much. I was also able to ‘correct’ the hog in about 20 minutes with some wedges and a bottle jack – it ought not to be quite so easy. So I decided that she definitely needed a less noodly keel.
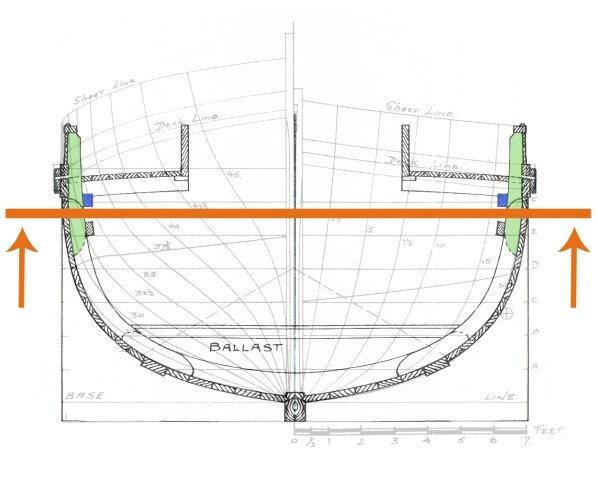
There’s no non-invasive way of replacing a keel though, and given how degraded and fragile the rest of the boat was I didn’t want to rush into it – in a restoration of this scope, the integrity of the shape must be carefully shepherded. My first thought, which would have allowed keel replacement sooner, was to replace the heads of all 25 frames, and then install a new beam shelf – with that done, I would run heavy beams athwarts under the shelf in a few places and lift the boat up by jacking on those beams.
Plan A. Sort of a scaled down version of the I-beam support structure built by Arnold M. Graton Associates Inc. to support Mayflower II during her restoration.
After spending some time examining the state of the existing framing and replacing a couple of the most degraded frames in the boat I was less taken with that plan though, for a couple of reasons – first, the entire structure was so weakened by age, rot, and iron sickness that I doubted that the rest below what I would install would actually hang together. Similarly I wasn’t comfortable with the simplest plan, of just cutting away the keel first thing and taking the weight on her bilges, for the same reason. Having removed the last of the cement from inside I found that in some places it had been structural. Second, I found that either through inconsistency in the original build or changing shape over time, Rosalind’s frames weren’t very straight or consistent from keel to sheer, sometimes curving or leaning in ways that would be much easier to remedy if I started framing from nice square and consistent re-established frame spacing at the keel.
So… I arrived at plan B. Replace the entire inner centreline structure, and about half of her frames prior to lifting from underneath the keel, and taking the weight on her bilges. I decided to replace roughly half rather than all of them in order to better allow her to settle onto a new, totally straight and flat keel.
Mid-blizzard, March 2018.
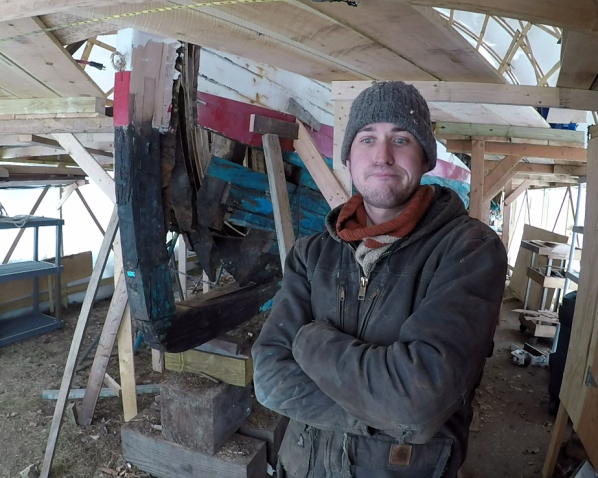
‘Twas a tad brisk, removing the forward deadwood… March, 2018
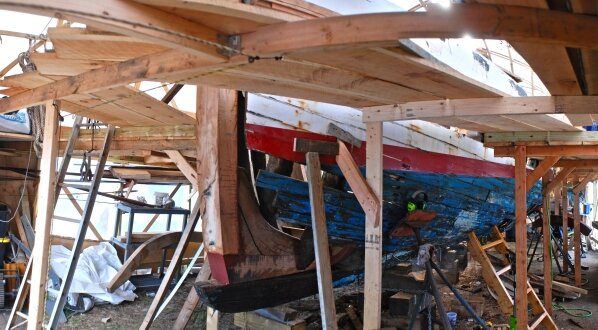
I began rebuilding the stern in December as I previously related. With that complete I framed forward and replaced the forward deadwood assembly and apron. I had a pretty serious injury at work at the end of March, which slowed me down quite a bit but I was still ready to go looking for a keel by the middle of April.
Bow taking shape, April 2018
Framing, April 2018
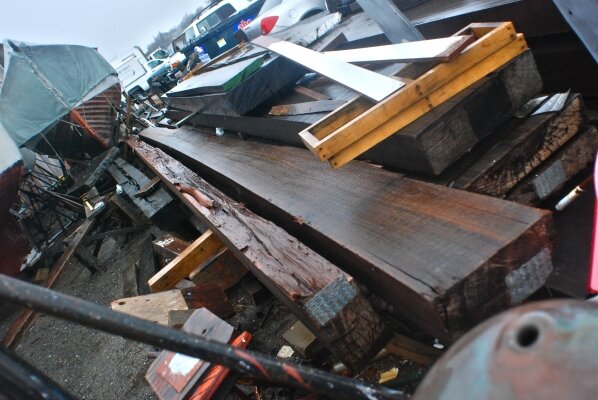
I made the obligatory pilgrimage out to the excellent fellows at Gannon & Benjamin to buy a big chunk of Angelique (Dicorynia Guianensis, native to Suriname and French Guyana, and like black locust a mighty arboreal legume), which after considerable trials and tribulations arrived in Mystic owing to the kindness and generosity of Ralph Packer, who I really can’t thank enough.
Angelique stash at Gannon & Benjamin, April 2018
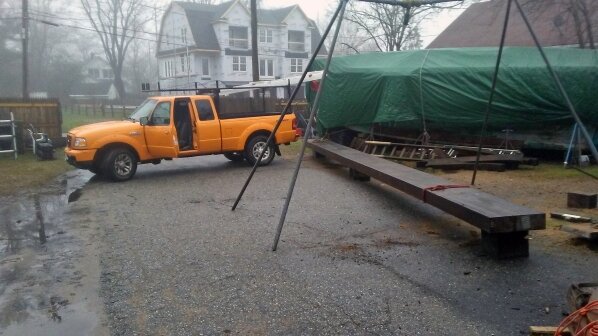
Unloading this timber from the flatbed was one of the sketchier operations I’ve performed with my indomitable truck crane & swing set duo. But it worked!
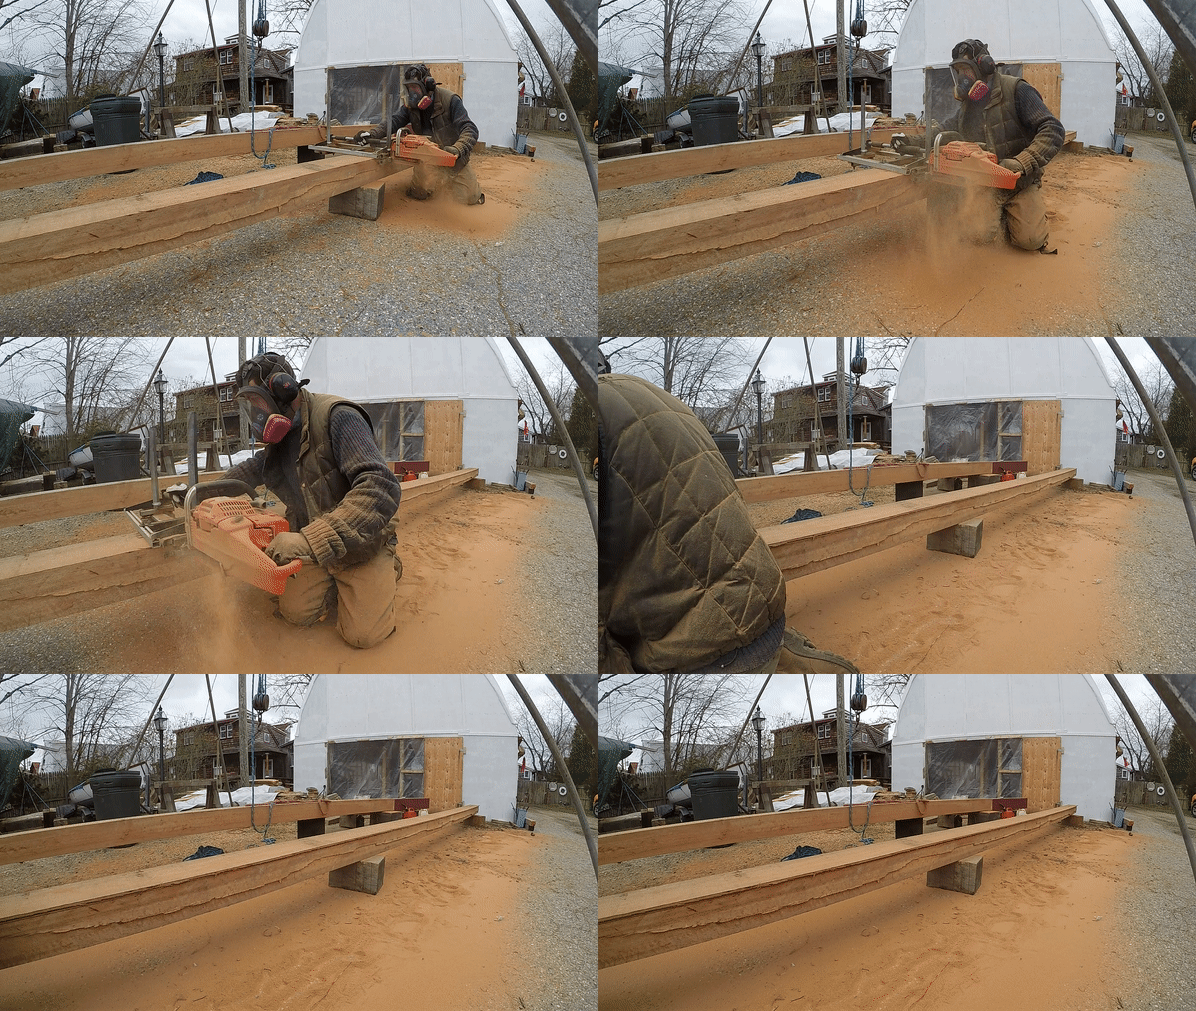
Alaskan milling, April 2018
Sadly the constraints of shipping the stuff up from South America meant that the piece was a little bit too short to do a one piece keel, so after alaskan milling out my pieces I got to work on a big hook scarph, which got bedded in a mix of dolphinite and bottom paint and through bolted with ½” silicon bronze bolts. Framing tends to be a lot of power tool work so this was a nice chance to break out hand tools and enjoy the quiet!
Cutting the scarph, May 2018
When that was all together I gathered as many friends (thank you all, again) as I could for the big operation, which went as follows –
Step one. Lift the boat straight up with 6 jacks placed at intervals underneath the old keel, and take up on the stands so she doesn’t fall over
Step two. Brace on the apron and inner sternpost, and under the temporary plywood wale at the new height
Step three. Cut the remaining keel bolts
Step four. Let the jacks off very gingerly, hoping that Rosalind stays suspended on the stands and temporary bracing…
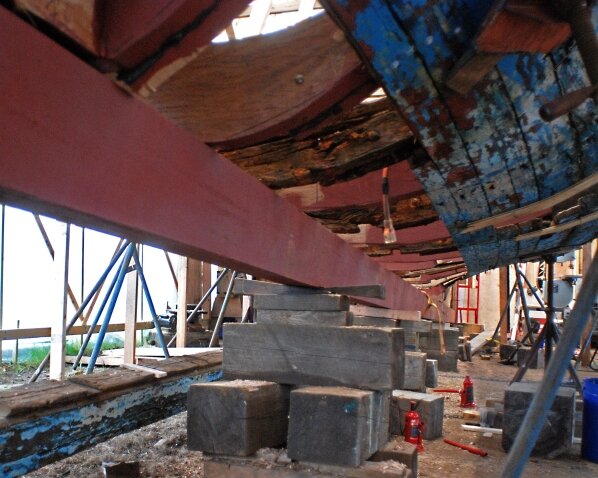
And she did! It was a strange view and a strange feeling, to look into the hull from the underside. Thanks to my previous anxiety about this, there was very little fairing needed on the underside of the floors. We soon proceeded to roll the new keel up onto the blocking…
Rosalind the flying boat, May 5th 2018
New keel in place, May 5th 2018
Now, angelique is a truly admirable timber in many respects, but in life it is a full sized rainforest tree growing up to 150 feet tall – this leads to all sorts of directional stresses which only present when you try to turn it into things. Long story short, my new keel was undesirably banana-like vertically and horizontally.
Fortunately there was a large heavy semi-immovable object where it was going – the boat itself. Essentially what I ended up doing was to align the forward end of the keel and clamp it in place, and then jack and winch the aft part up to the boat until her weight pushed the curve flat. Once pinned in this fashion I put winches on the aft end and the midsection to pull the lateral curvature out. Finally I applied as many really large clamps and ratchet straps as I had available to keep everything in place, and called it a day.
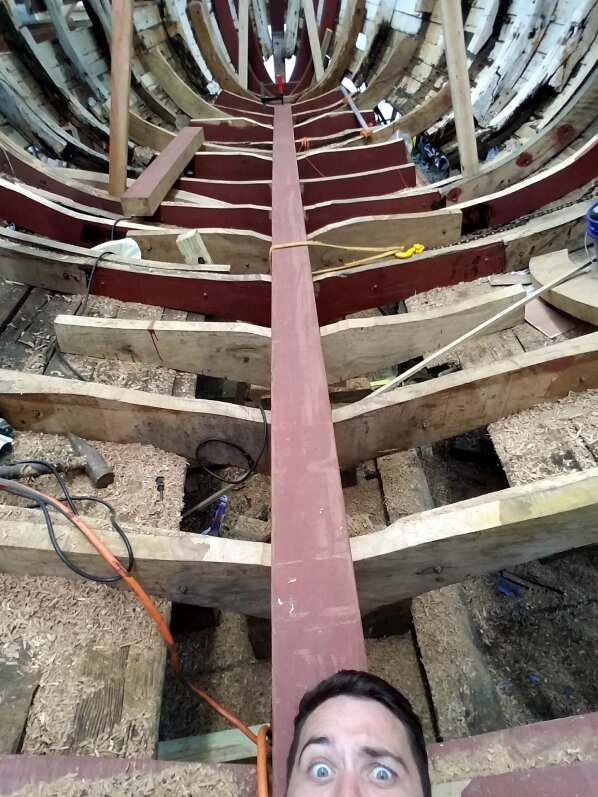
Fitting the keelson, June 2018
In the following months I replaced the remaining floor timbers, and then repeated a smaller version of the keel straightening operation in installing the keelson (but with the curvature reversed, which will hopefully encourage them both to behave), which with the keel sandwiches the floors and turns the whole system into a truss. She wouldn’t originally have had a keelson, but I’m rebuilding with greater longevity in mind than what is usual for fishing boats so it seemed a good idea.
Threading 5/8ths silicon bronze keel bolts, July 2018
I still have a quarter or so of the framing to complete, but I’ve been held up by the previously mentioned major shoulder injury back in March, and subsequent surgery at the beginning of August. I’m on the mend now though, and have been taking the time to reorganise some things and do some of the larger planning that I haven’t managed to find time for previously. Thanks for reading, and much more to follow soon!

